Written by —-
Edited by —-
In this crazy time of being locked inside our houses for weeks on end I needed to learn a new skill. I decided to learn how to bake my own bread, and wanted to share my new skill with all of you. I wasn’t sure where to start, but luckily I am living with my older sister who happens to be home from working in the French Alps as a chef! I asked her to teach me how to make lovely Dutch oven bread. I thought this process would be very difficult but it was so much easier than I imagined, and I hope you enjoy this recipe.
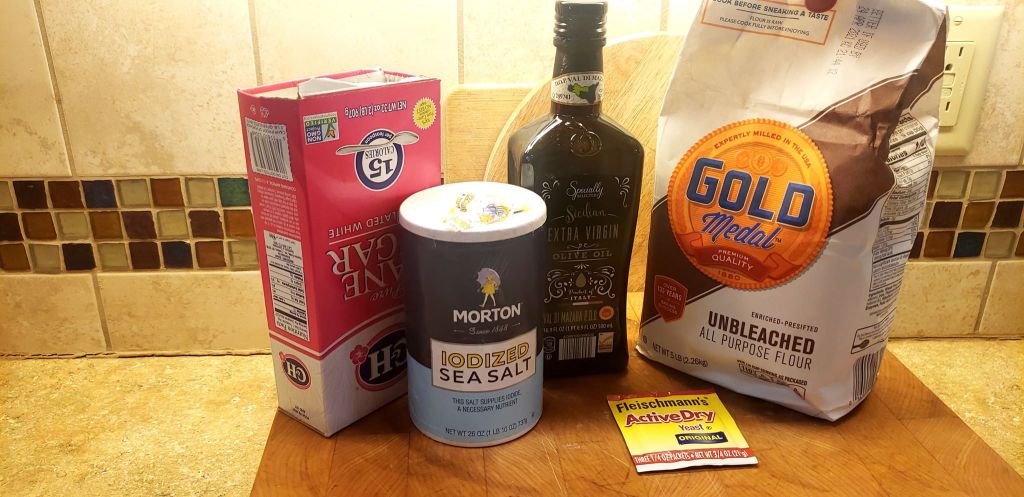
Ingredients:
All purpose flour -3 cups (plus more for dusting)
Yeast (instant active)- Half teaspoon
Salt- 2 teaspoons
Warm water- 1 and a half cups
Sugar- Half teaspoon
Olive oil- 2 tablespoons
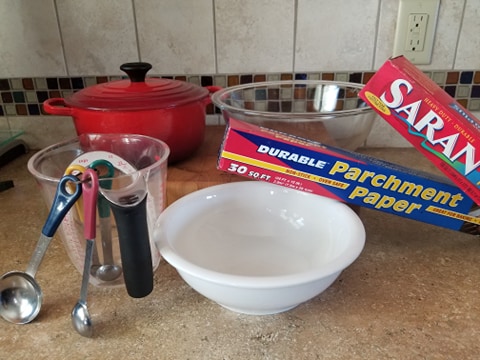
What you’ll need:
Large mixing bowl
Medium mixing bowl
Measuring cups
Measuring spoons
4-quart Dutch oven
Plastic Wrap
Parchment Paper
(Optional) Thermometer
Steps:
First, mix two cups of flour with salt in a large mixing bowl. Leave one cup of flour to the side.
In your medium mixing bowl, mix water warm water with sugar. You want this water to be about 100 degrees, which is where a thermometer would come in handy. Be careful the water is not hotter than 115 degrees or you will kill your yeast. Mix warm water with sugar before putting yeast in until its dissolved because yeast feeds on sugar.
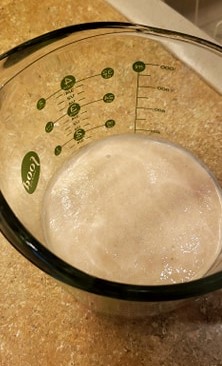
Next add your yeast, making sure that it all makes contact with the water. Let this sit for 10 minutes.
When your yeast is in the sugar water you will be able to tell if this process is working if the yeast is forming a brownish foam on the surface. This foam will continue to achieve more and more foam the longer it sits. This mixture will also have a strong yeasty smell (like pizza dough). If you don’t have foam on the surface you probably have dead yeast and you will want to try this step again. DO NOT move forward until you are happy with your yeast results!
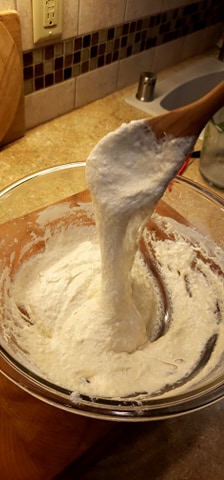
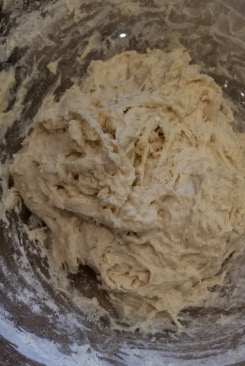
After the 10 minutes, mix your foamy yeast into the salt and flour ratio. The reason we only have two cups of flour used so far is to have a more even ratio for the autolyse process. Autolyse is when the ratio of water to flour is higher to encourage gluten development. Mix this thoroughly until all the flour is combined. Your dough should be stringy when you pull your spoon out, this mixture will probably be more liquid than you would expect dough to be.
Cover this mixture tightly with plastic wrap, and then cover with a kitchen towel and place the bowl in a warm place for 30 minutes. We used our oven when it was turned off (Just make sure you don’t accidentally turn your oven on during this time!)
During this time you have the option to eat ravioli (or at least, that’s what we did.)
After the 30 minutes you should see a slight rise, and some bubbles on the surface. Unwrap the plastic wrap from the mixture and add your third cup of flour to this mixture (it is easier to mix by hand.) By now the dough should by sticky and more form able than before.
Next, rinse out your medium mixing bowl you used for your yeast, and add your two table spoons of olive oil to it.Take your thoroughly mixed dough and place it in the medium mixing bowl with the olive oil. Roll your ball of dough around until it is thoroughly coated on all sides. Cover with more plastic wrap and your kitchen towel and put the covered dough back into to the warm spot for an hour.

After an hour its time to check on your dough! For this step you will be adding air to your dough to help it stay nice and fluffy. In your hands stretch the dough out slightly and then fold it back into itself without pressing the air out.
Repeat this process a few times before placing the bowl back into the bowl and recovering with plastic and a towel and placing this into a warm area for another hour. You will want to repeat the step of stretching and waiting for an hour another 2 times.
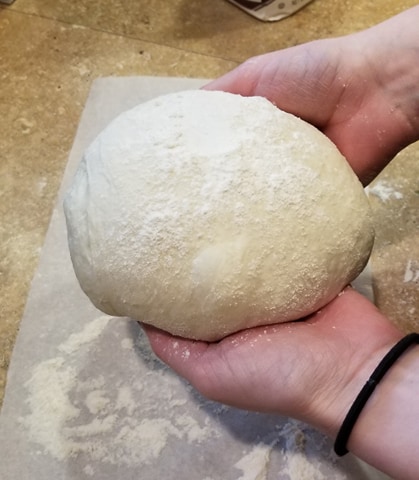
Once dough has set, remove the dough from the bowl and place on a sheet of parchment paper dusted with flour. Lightly dust the entirety of the dough with flour and pull the sides of the dough out slightly and tuck them back under the dough. This should help shape the dough into a ball with a tight top. Repeat the pull and tuck process until the top of the dough is pulled taught and shaped nicely.
Next place your dough back onto your dusted parchment paper and put some slits in the top. I only put three on mine but you can put more if you choose, or add a fun design. After you score the top cover again with plastic wrap and a towel for about 30 minutes, no need to put in a warm place. It only needs to rest about 30 mins.
Now is when you want to preheat your oven to 450 degrees Fahrenheit, while your oven is preheating place the Dutch oven (with the lid on) inside to allow it to heat up along with the temperature of the oven. Preheating at this point allows your dough to set for that needed 30 minutes.
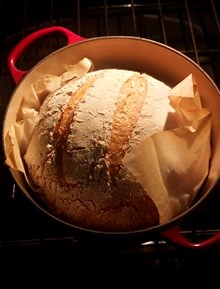
Once your oven and Dutch oven have preheated quickly remove your dutch oven and place your parchment paper holding your dough inside, cover with the lid, and allow to cook for 1 hour, or until golden brown and cooked through.

TA DA! You have made your very own Dutch Oven bread. This goes along with so many lovely dishes, or eaten on its own with butter!
For more help, here is a video that uses a very similar process to this recipe to help you with any steps you might be confused on along the way!
References:
Tasty, Homemade Dutch Oven Bread, https://tasty.co/recipe/homemade-dutch-oven-bread
All photos taken by —.
