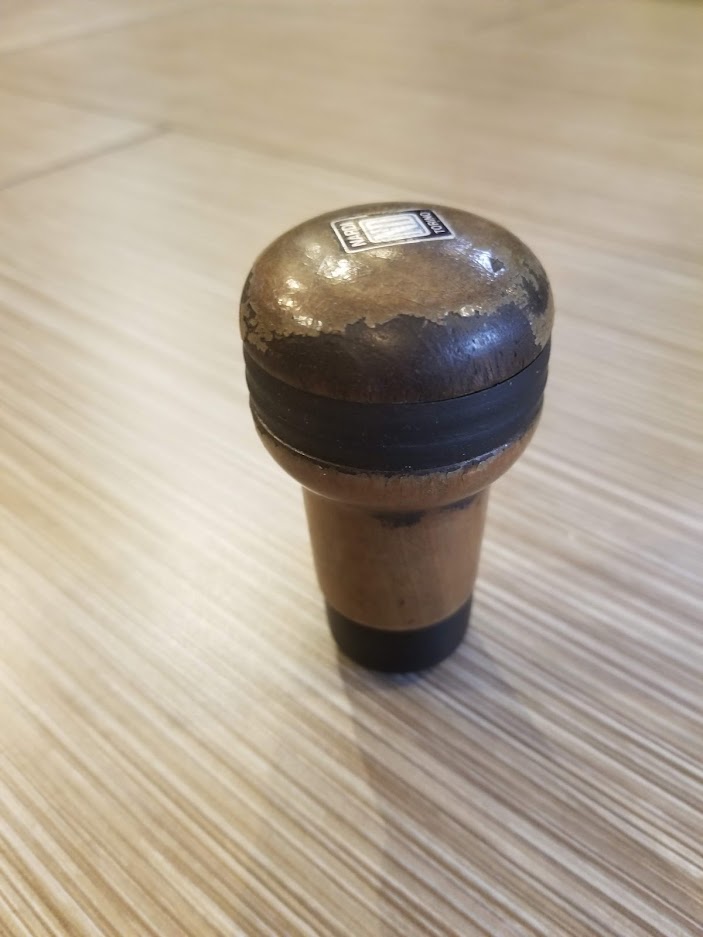
Hello Everyone, Today I am going to show you how to completely restore a 1993 Mazda Miata wooden Nardi shift knob! Why spend 100$ on a replacement when you can make your current one look great with things you might have laying around the house! It will improve the feel of the shift knob and you will no longer have black residue rubbing off on your hand while driving!
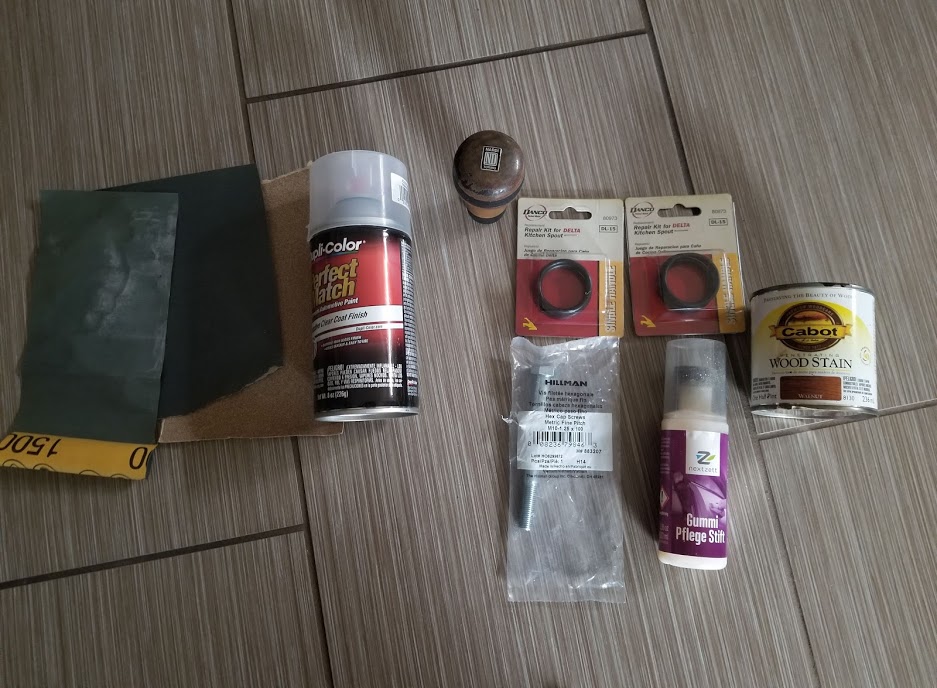
To complete this project you will need the following. 300, 600 and 1000 grit sand paper. Two packs of Danco Delta kitchen spout repair kits model number (80973) Your preferred wood stain, and wood lacquer finish. Gummi Pflege (a rubber seal restorer/hydrator) If you want to make it easier on yourself when sanding a single M10-1.25×100 bolt with the head cut off along with a drill press would be handy.
Procedures. What to do, Step by step.
Step 1 : Remove all rubber from the shift knob. Gently remove the bottom one by pulling on it gently. The second one you can cut out using a sharp razor blade. NOTE: Be careful with razor-blades. I cut myself!
Step 2 : Back out the set screw on the metal part of shift knob if you plan on using the bolt trick for sanding. This will save you time sanding in the long run.
Step 3 : Cut the end of the bolt off with a metal saw. That way you can put it into a drill press chuck.
Step 4 : Thread the M10-1.25 bolt into the shift knob and put it into the drill press chuck.
Step 5 : at this point you are ready for sanding. Start with 300 grit. Get most of the old lacquer off with 300 and finish up working your way up to 1000 grit. (The lower the grit number the more abrasive the sand paper is)
Step 6 : Turn the drill press on and start sanding. NOTE: Be careful around the top of the knob where the Nardi logo is. You will likely have to do this by hand to preserve the logo. You cant buy a replacement anywhere.
Step 7 : once the old lacquer is sanded off and smooth. Moving up through grits you are ready for stain.
Step 8 : Apply the stain to the wooden part of the shift knob. But dont forget to shake the can before applying. 1 minute of shaking will do! Apply it, Let it soak in and wipe off after 2 minutes. Redo this 2-3 times. (quick note that once the stain drys it will lighten up)
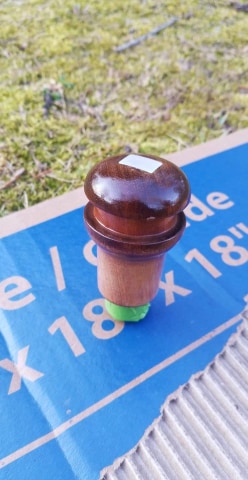
Step 9 : After the stain has had time to dry. Usually it takes around 18 hours but make sure to read your exact instructions on the contain. Apply your spray lacquer or clear coat. Don’t be afraid to lay it on thick, avoid runs/drips.
Step 10 : At this time you can recondition the bottom rubber piece. Apply Gummi Pflege to the rubber off the knob. Let the piece soak in the product. This will make it so there is no black transfer on your hand anymore.
Step 11 : Put the bottom rubber piece back on and align the new bushings in the middle of the knob to your desired feel/order. There are 3 small ring 3 big rings.
The end goal of this is to save money and use things that are probably sitting around your house already. You can brag to your friends that you redid this shift knob yourself. Not to mention it will make your interior and driving experience SO much better.
References
