By Lucas Schaff
In the grim darkness of the far future, there is only war.
Warhammer 40k is a tabletop game created by Games Workshop. Since the publishing of its first rulebook in 1987, 40k has grown to be one of the most popular tabletop games of all time, spanning countless novels, video games, and even an upcoming TV series. Core to all this, however, are miniatures. The game started as a way to battle your Dungeons and Dragons miniatures with other players, and the minis continue to be the focus of 40k. The hobby of collecting, painting, and eventually fielding your own miniature army on the tabletop is one of the most satisfying ways to spend your time.
The first decision you have to make is what faction you want to play. Do you prefer the space marines, the superhuman defenders of humanity? Or perhaps you would rather play the tyranids, a hive mind alien race set on consuming all life in the universe. Each faction plays a little differently in the tabletop game, but I recommend picking one based on what looks cool to you. If you’re not sure what faction you want to play but still want to get a taste of painting, there are a few starter kits that are relatively inexpensive and are a great way to get your feet wet without a massive investment.
Once you have your models picked out, the next step is to get paints. The paints you choose are going to depend on the faction you choose, along with your own personal preference. Each model comes with a recommended paint scheme, but it’s ultimately up to you to choose your colors. Usually the paint scheme uses Games Workshop’s proprietary Citadel Paint brand, but there are ways to convert to other brands so you can get the same results (https://www.dakkadakka.com/wiki/en/Paint_Range_Compatibility_Chart). You’ll also need a set of fine paint brushes, as well as some plastic glue (the kind you find at any model shop). Once you have all that, you’re set to start painting!
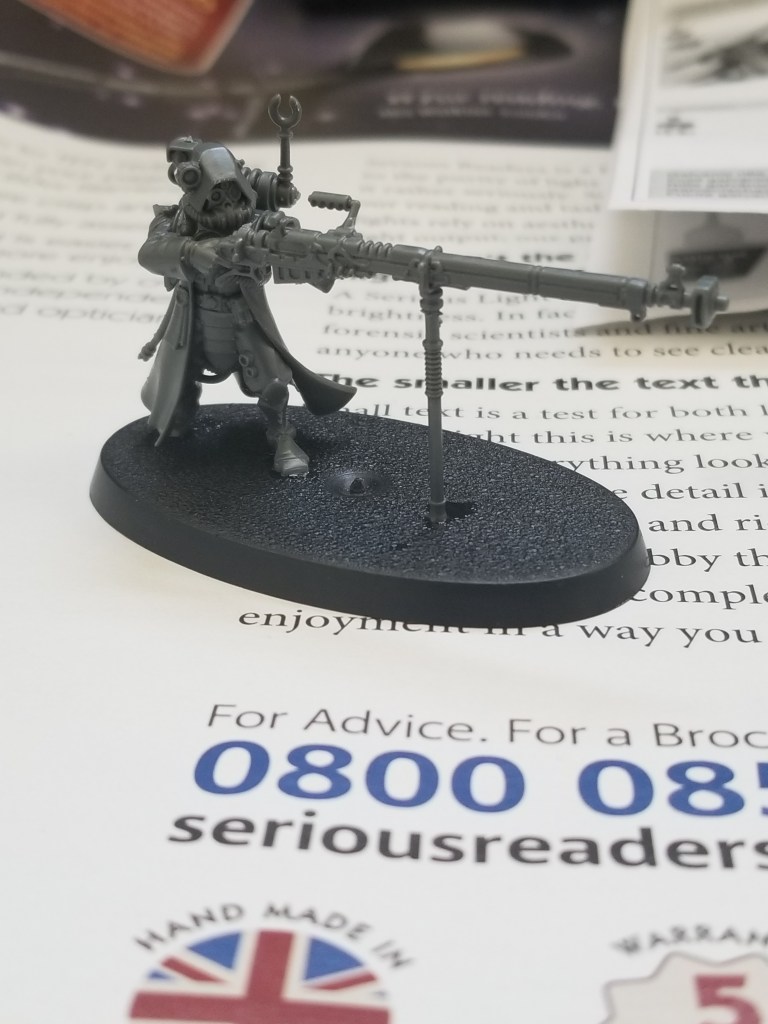
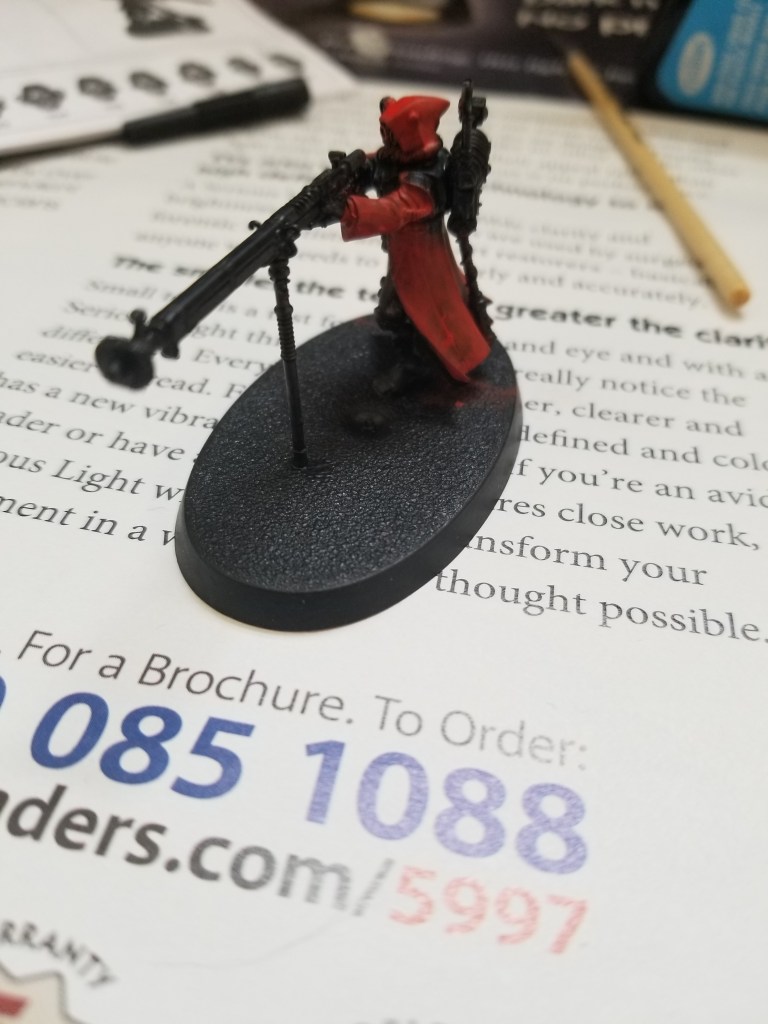
The first step is to assemble your miniatures. Most Games Workshop minis fit together very easily, just requiring a drop or two of glue at the points of contact. Make sure to check the instruction manual before you glue anything, because the glue actually “melts” the two pieces of plastic together, meaning you won’t be able to separate them once the glue sets.
Whenever painting, it’s a good idea to thin your paints with a little water, and apply the paint in two thin coats. This makes the paint easier to manipulate when painting, and helps create a more consistent finish. How much you thin your paint depends on what you’re painting, and experience is the best way to figure out how much you need to thin. Everyone creates a melting space marine on their first go around. Be sure to also use a palette. This allows you to control how much paint is actually on your brush.
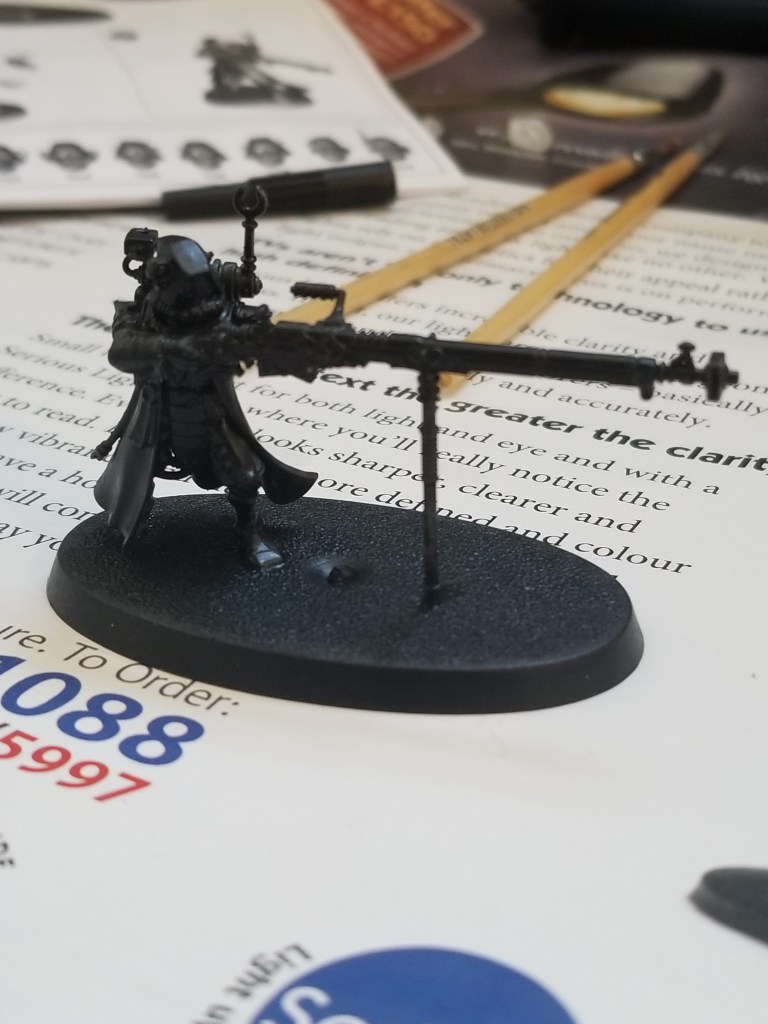
After the mini is all assembled and the glue is set, the next step is to apply an undercoat. The undercoat is the base color of your model, and is generally what the primary color of the finished model is. Sometimes it’s useful to start with black or some other color, but it really all depends on what you want the finished product to look like. Whenever painting, it’s a good idea to thin your paints with a little water, and apply the paint in two thin coats. This makes the paint easier to manipulate when painting, and helps create a more consistent finish. How much you thin your paint depends on what you’re painting, and experience is the best way to figure out how much you need to thin.
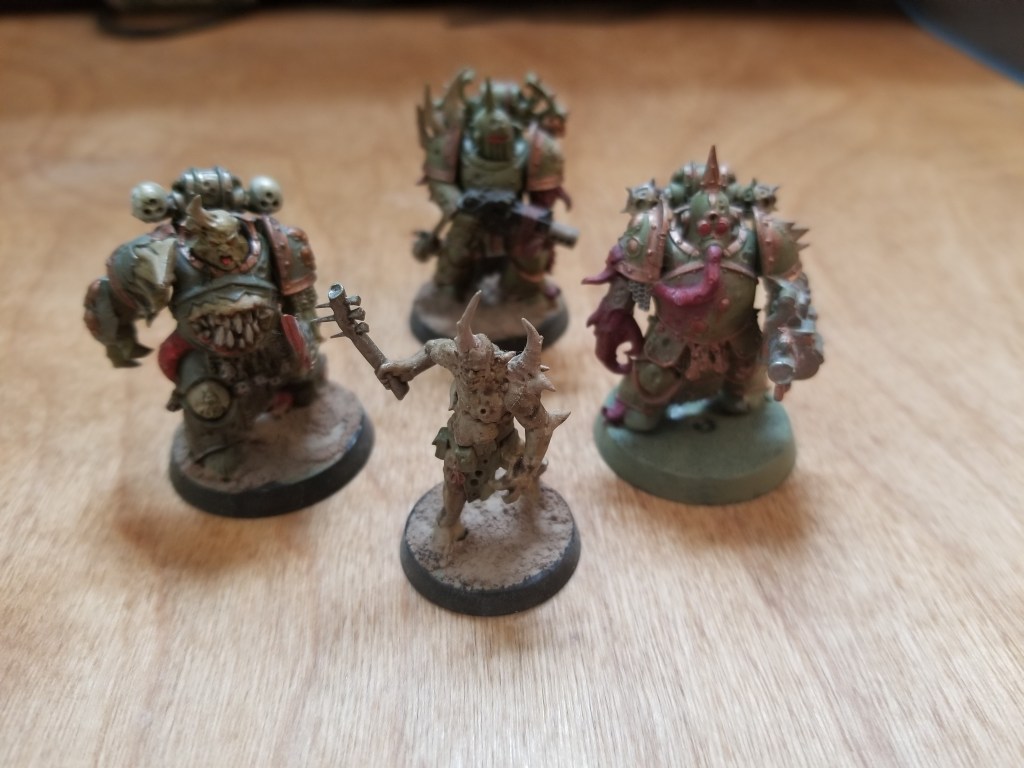
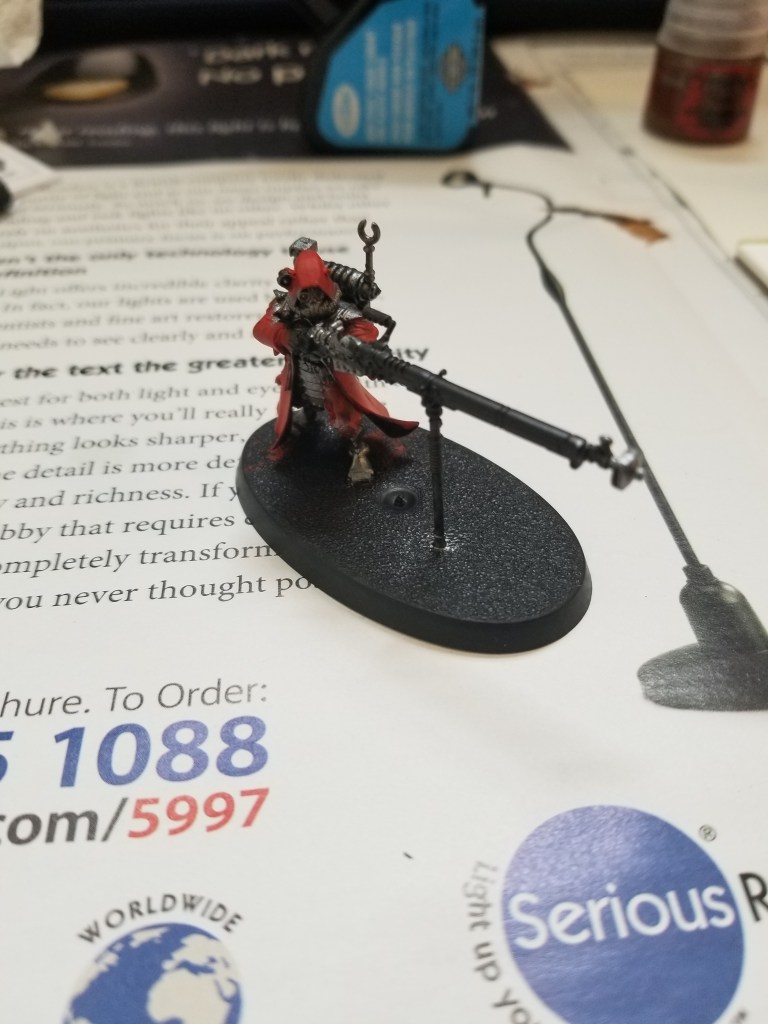
After the undercoat is applied, you can start basecoating. This means applying color to large parts of the model, laying a base for future detailing. In this step you might want to paint any weapons or armor pieces that are a different color to your undercoat
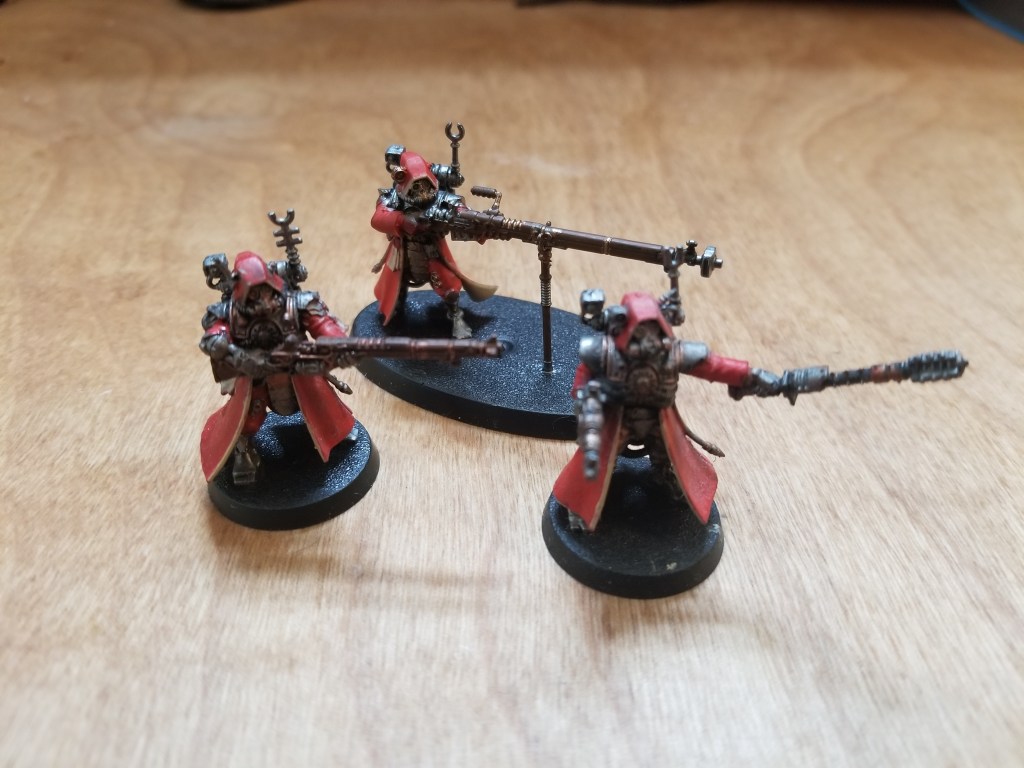
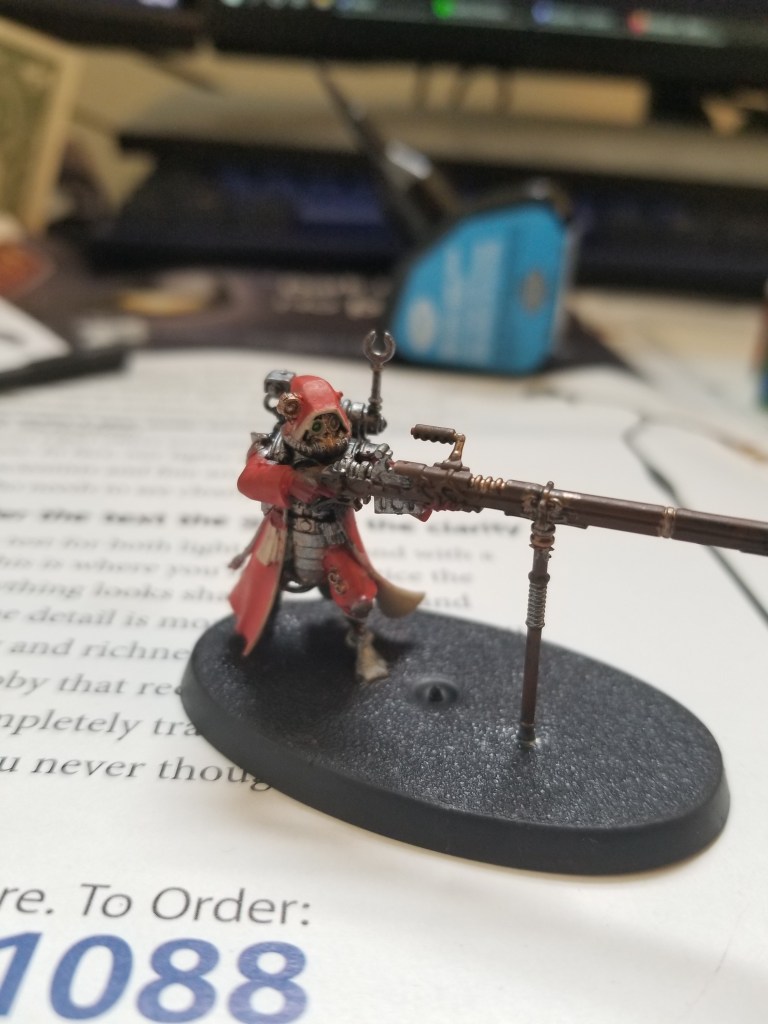
Once most of the color is on to your mini, you can start to detail. Apply the finishing touches by painting eyes, metal accents on armor, or even freehand some insignias or other details. This is the last step, so take your time getting everything looking exactly how you want it to. You can also take this time to touch up any mistakes you made.
Reading a guide can only help so much, and there are many techniques that you can use to make an awesome mini not covered here, so make sure to seek out other resources. The 40k community has hundreds of fantastic resources, and pretty much every mini ever released has a few stunning examples to get inspiration from. Make sure to seek out some of these resources for great tips and tricks to make your minis turn out awesome.
If your first model doesn’t turn out great, don’t sweat it. Everyone painted a space marine that looks like he’s melting their first time. Like anything, it takes time to learn, and reading guides can only help you so much. The best way to learn mini painting is to actually do it. One of the most satisfying aspects of the hobby is taking a look back on your old models and realizing how far you’ve come.