Written by: Chue Tou Kha
Why would you want to change your oil?
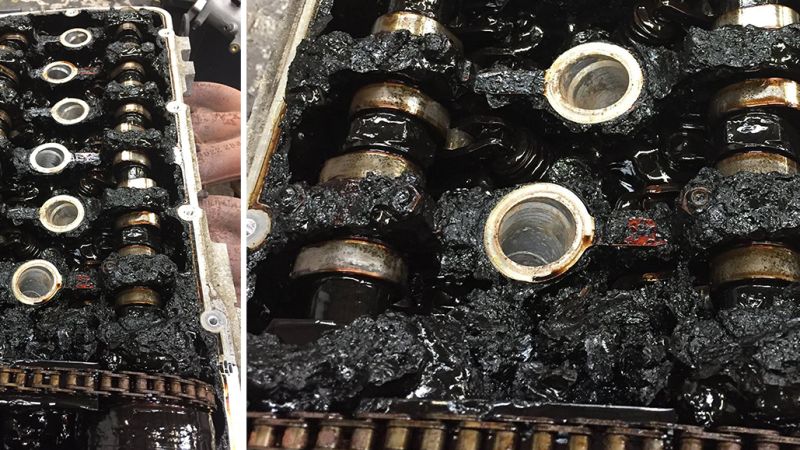
Owning a car, maintenance is a responsibility because, without it, your car will compile problems from wear and usage. Changing your oil is an important part of maintenance because, with the absents of an oil change, the engine will develop many problems. From your engine being less efficient to permanently breaking. You would want to change your oil every 7,500 to 10,000 miles.
Why you would want to change you OWN oil?
Many people who aren’t familiar with working on cars would think that changing your oil is a complex task. But it is actually pretty simple with easy universal steps along with safety precaution. Also, it will require some tools but using them is simple. Tools and equipment could be pricey but investing in them, you could save more money doing it yourself than getting it done at a shop yearly. Another thing is that a shop tends to use cheaper filters and oil, so the full benefit isn’t there. While you can buy yourself quality oil filters and oil and it would be cheaper.
Getting started
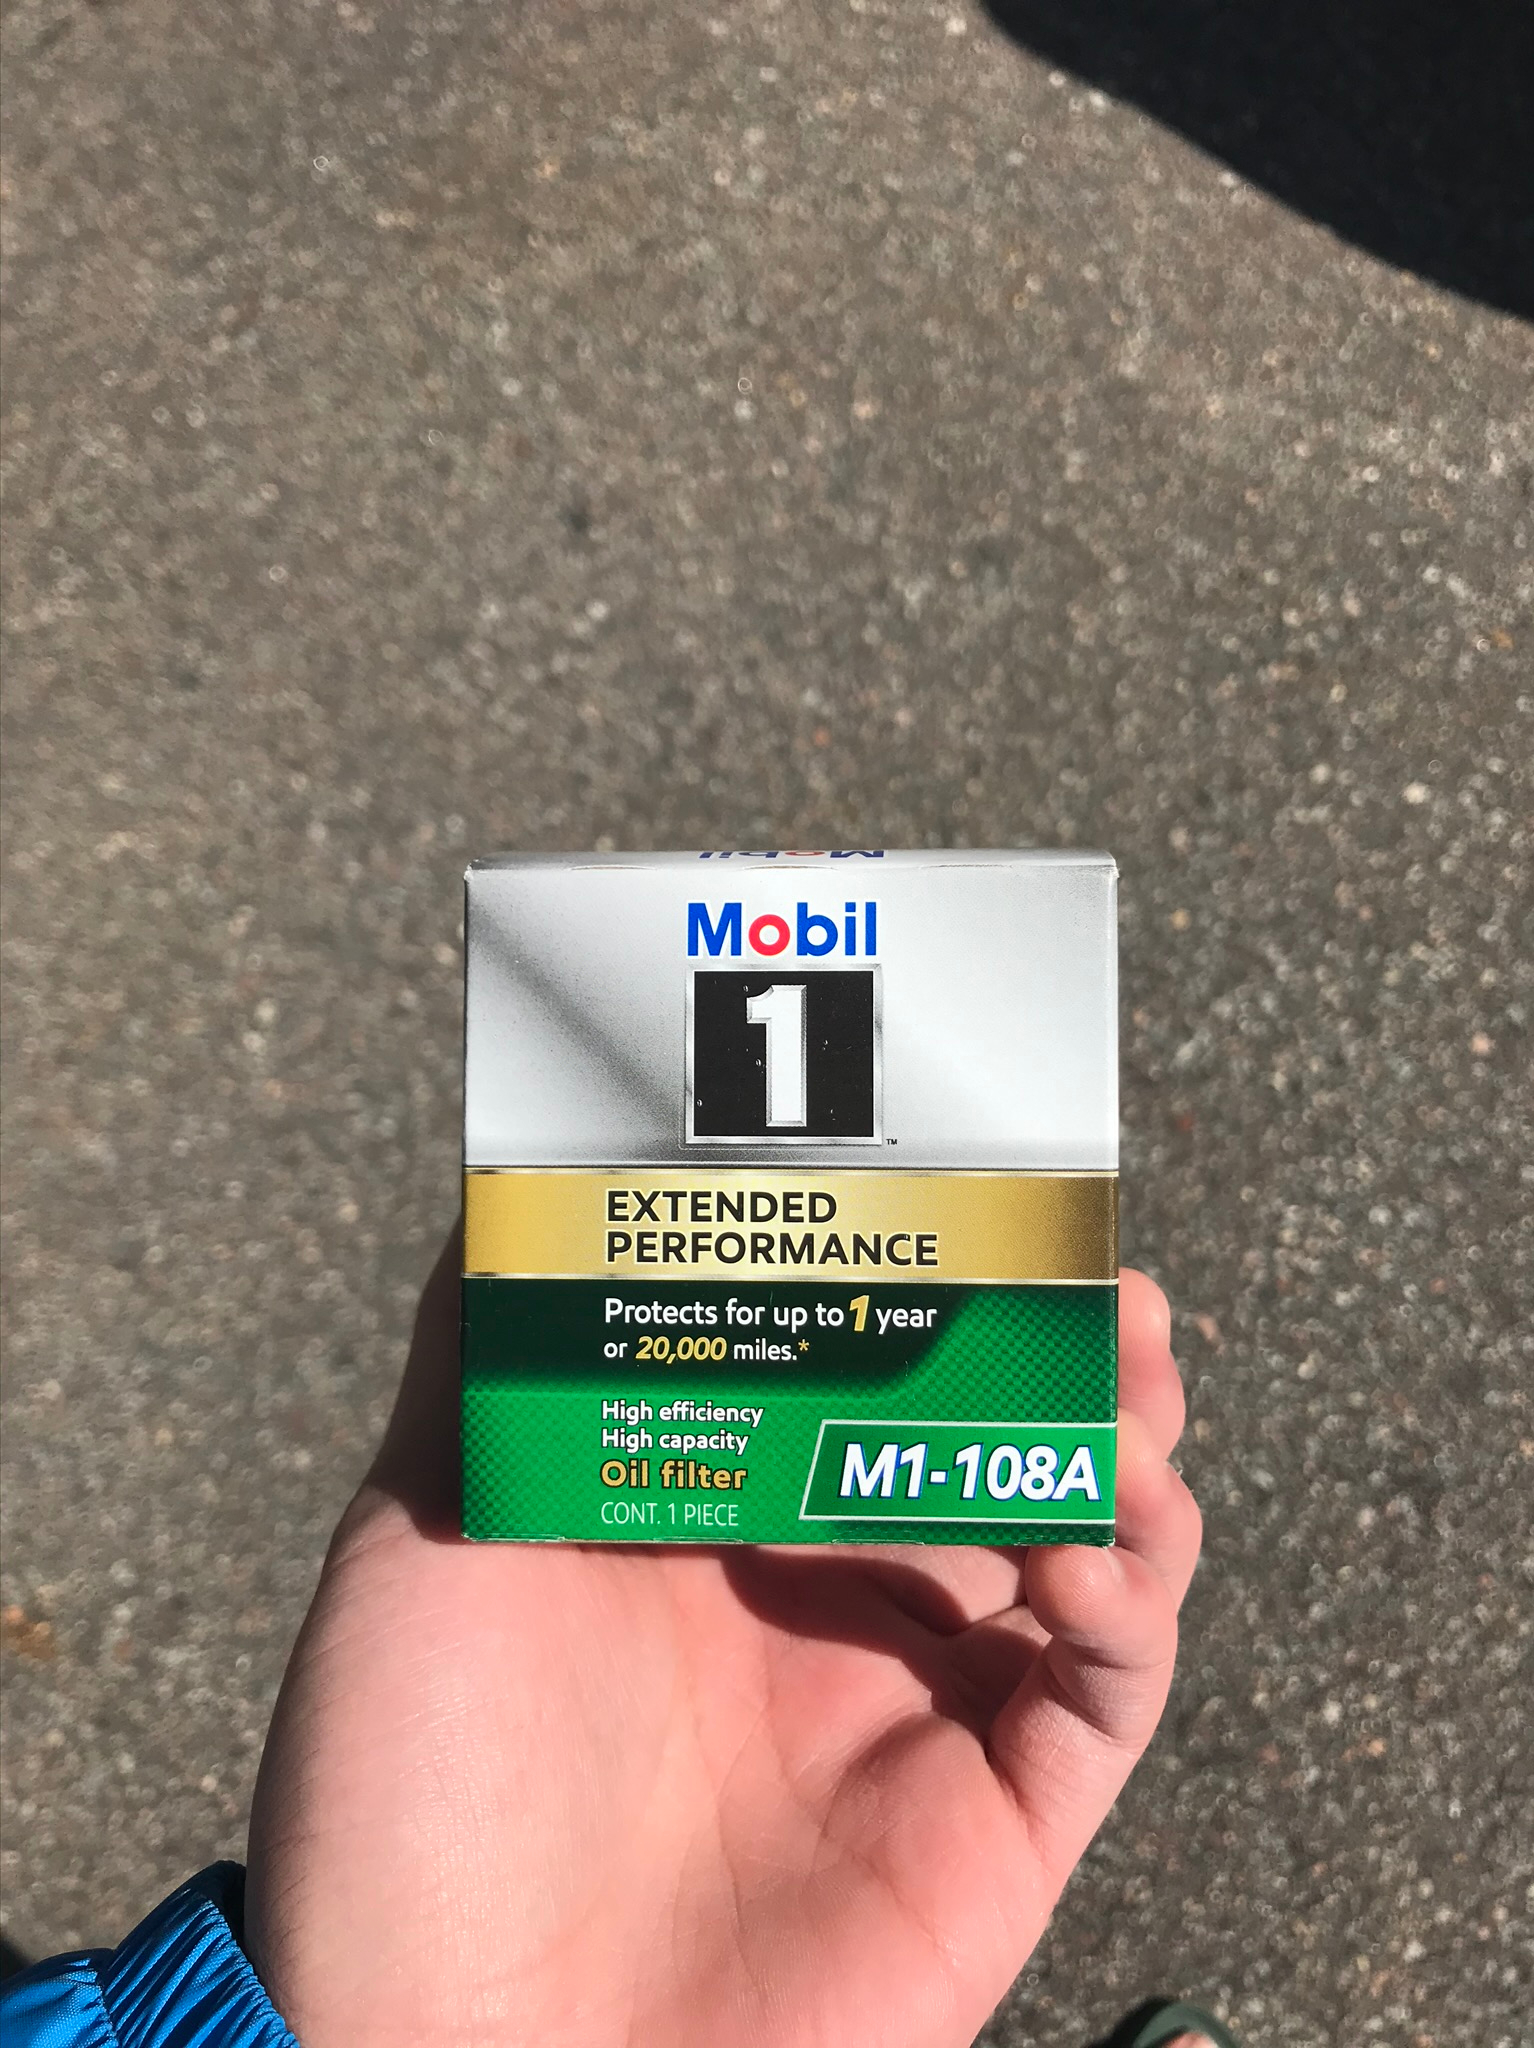
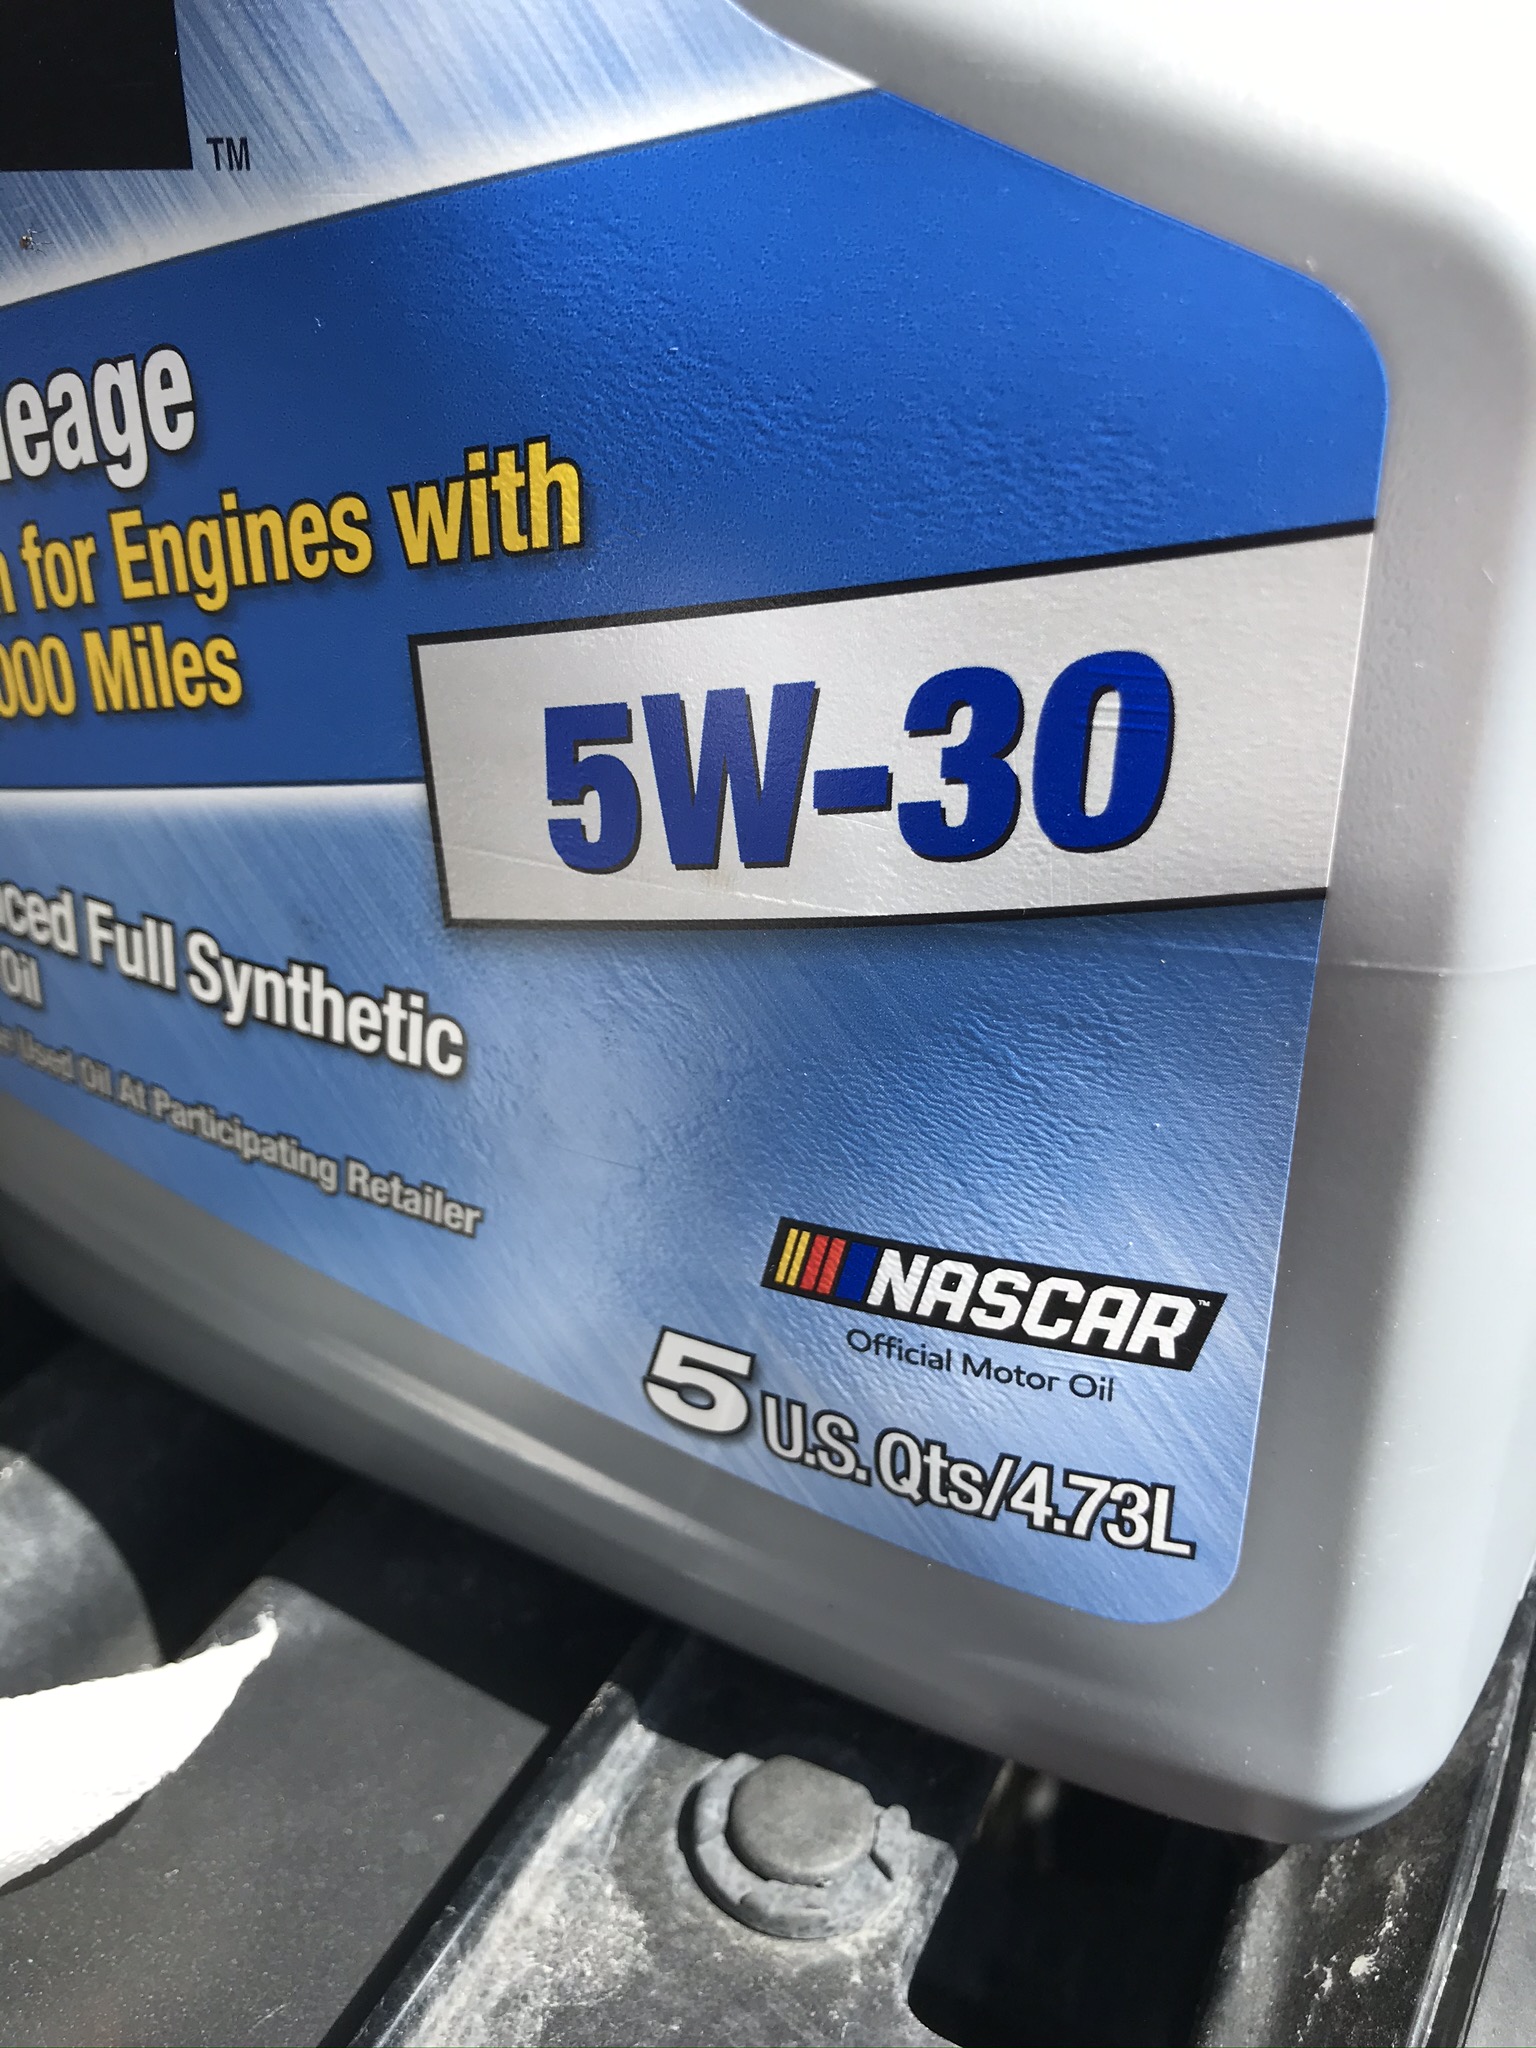
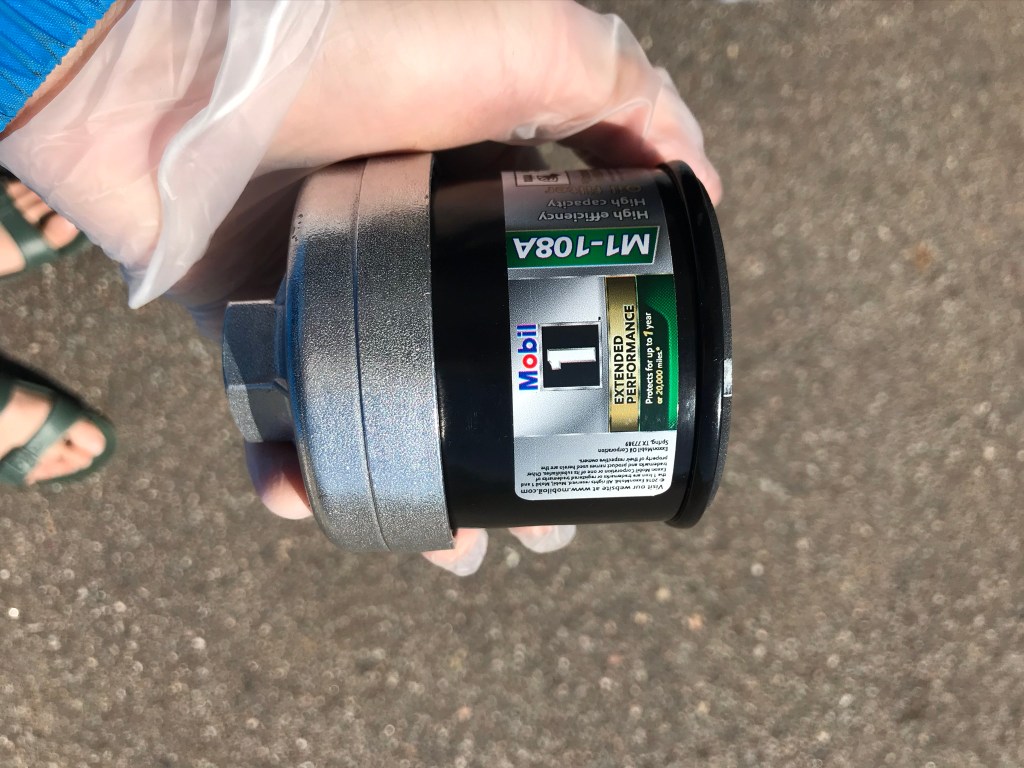
Step 1: Purchase the correct oil and oil filter and have the right equipment
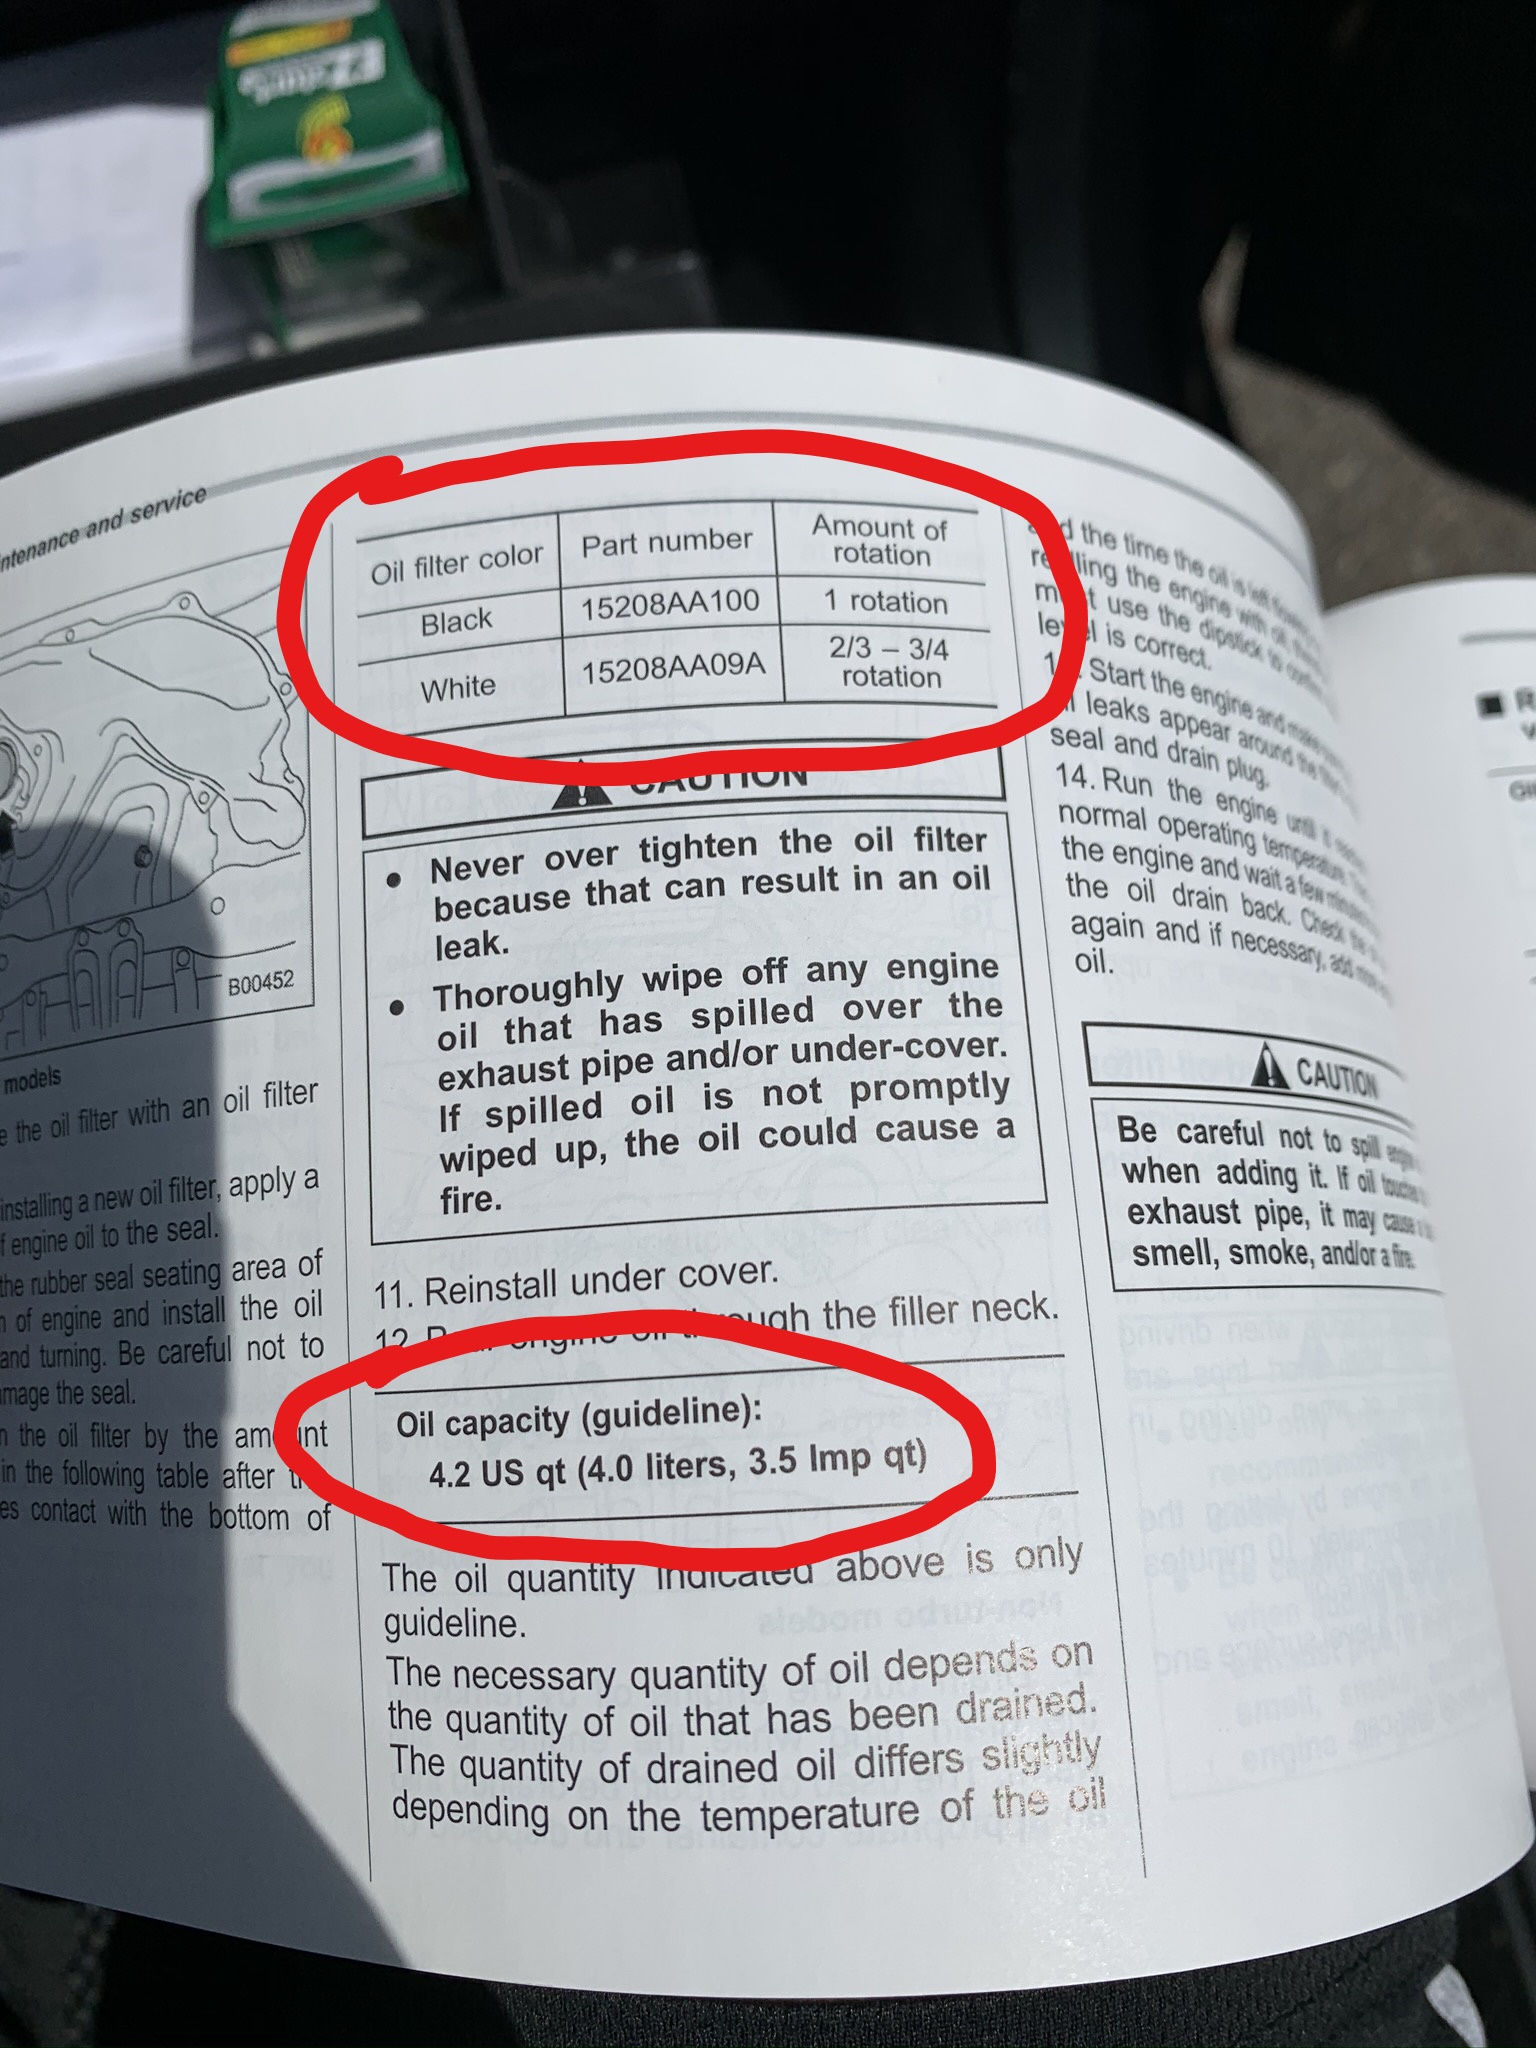
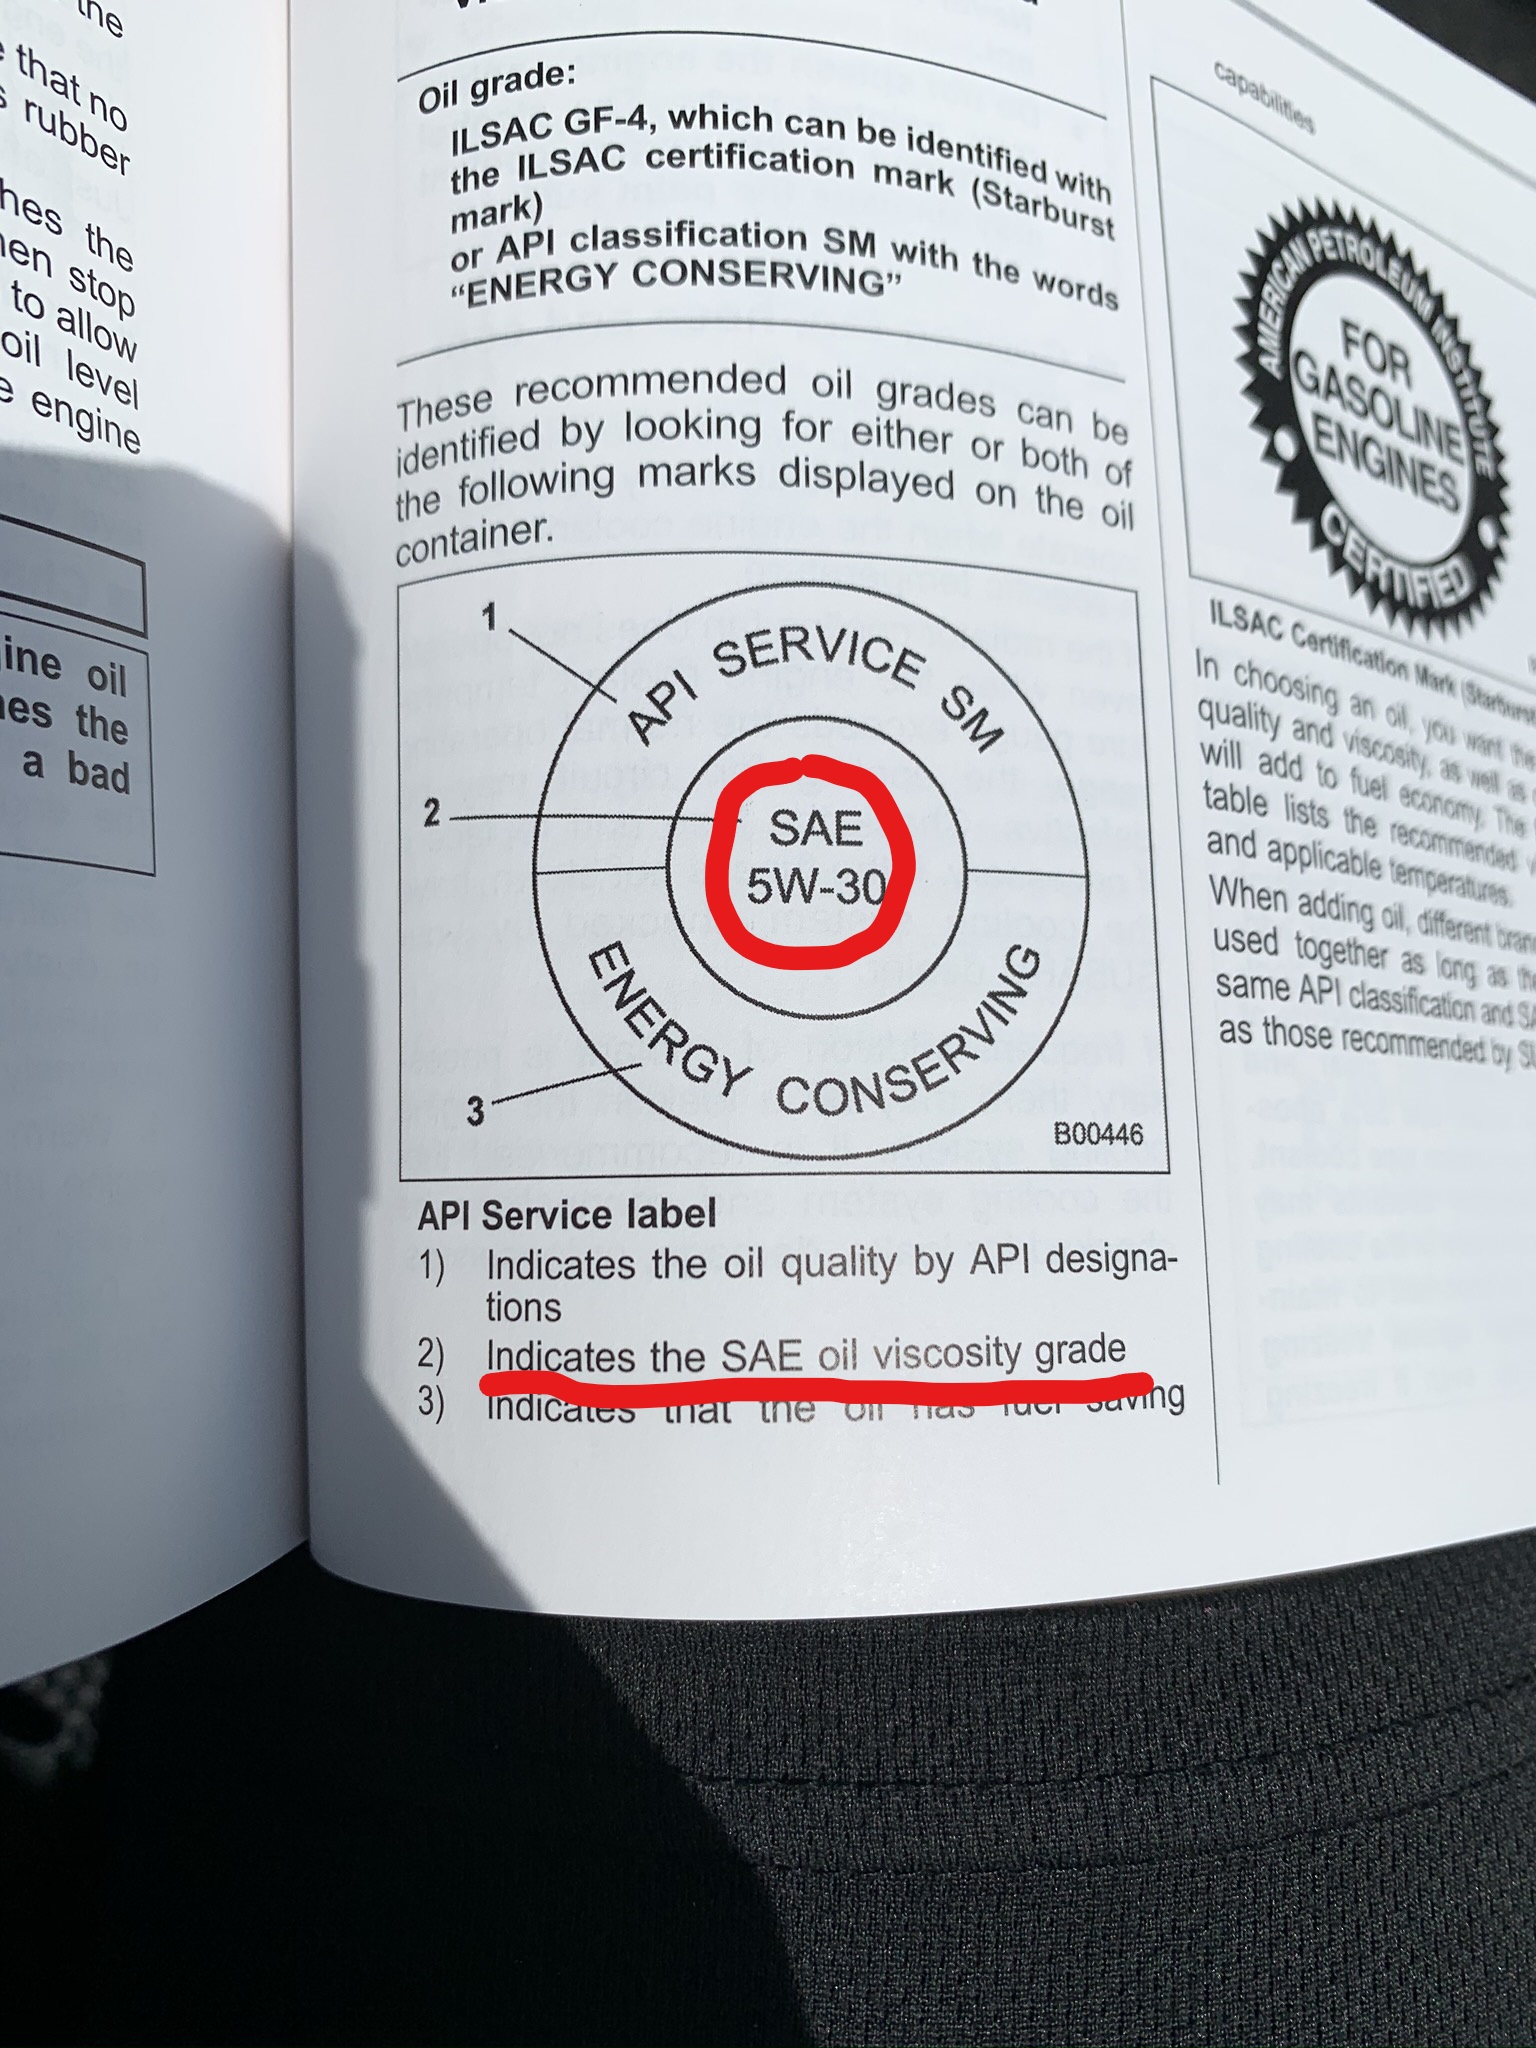
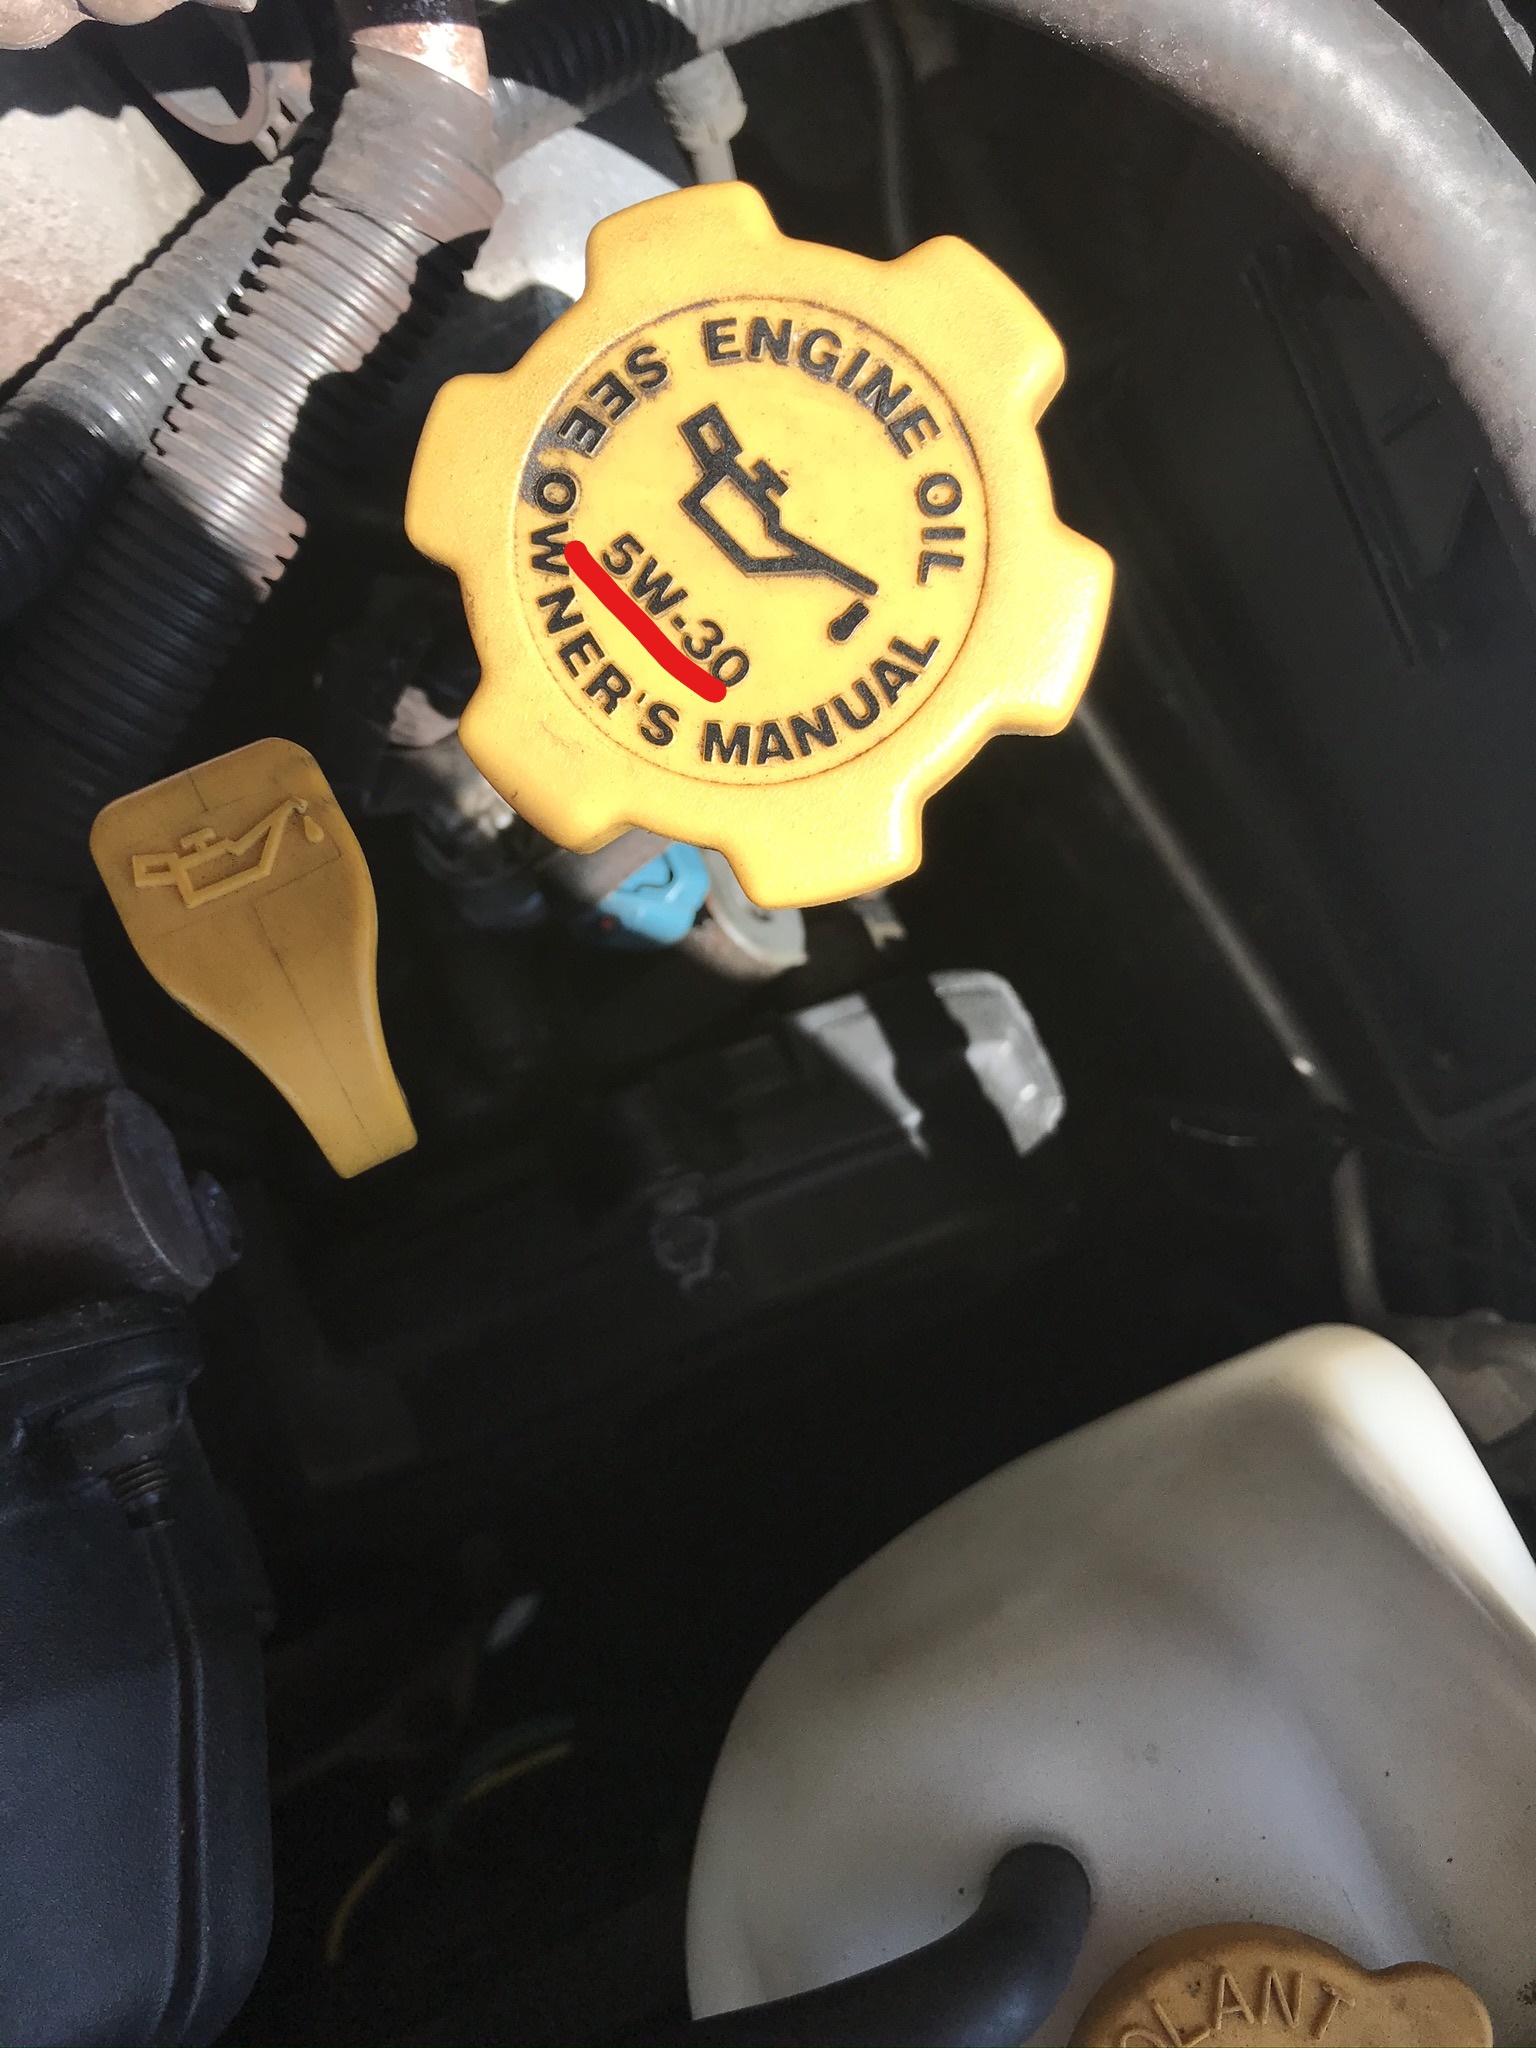
You can find the details regarding your oil in your owner’s manual or on the internet. It will give you the correct oil type, oil filter model, and how much oil your car can hold. You can also find the type of oil your car takes on the oil cap. Auto stores and Walmart also provide an information book that informs you of the correct part by giving you a specific part number.
Photos taken by Chue Tou Kha
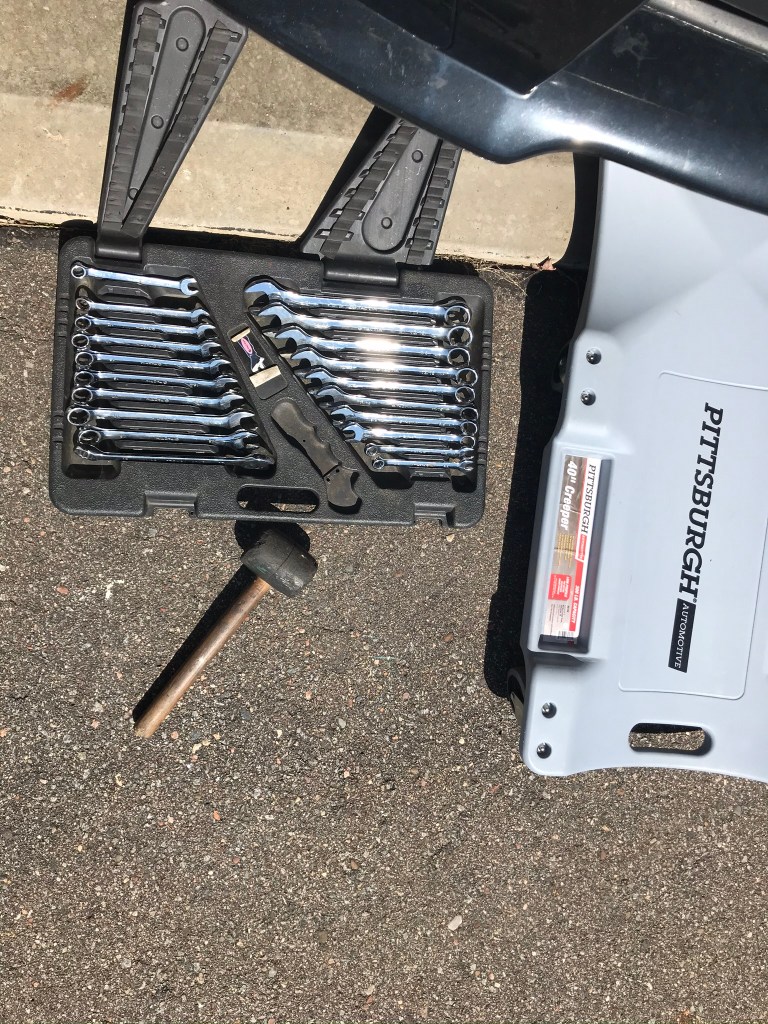
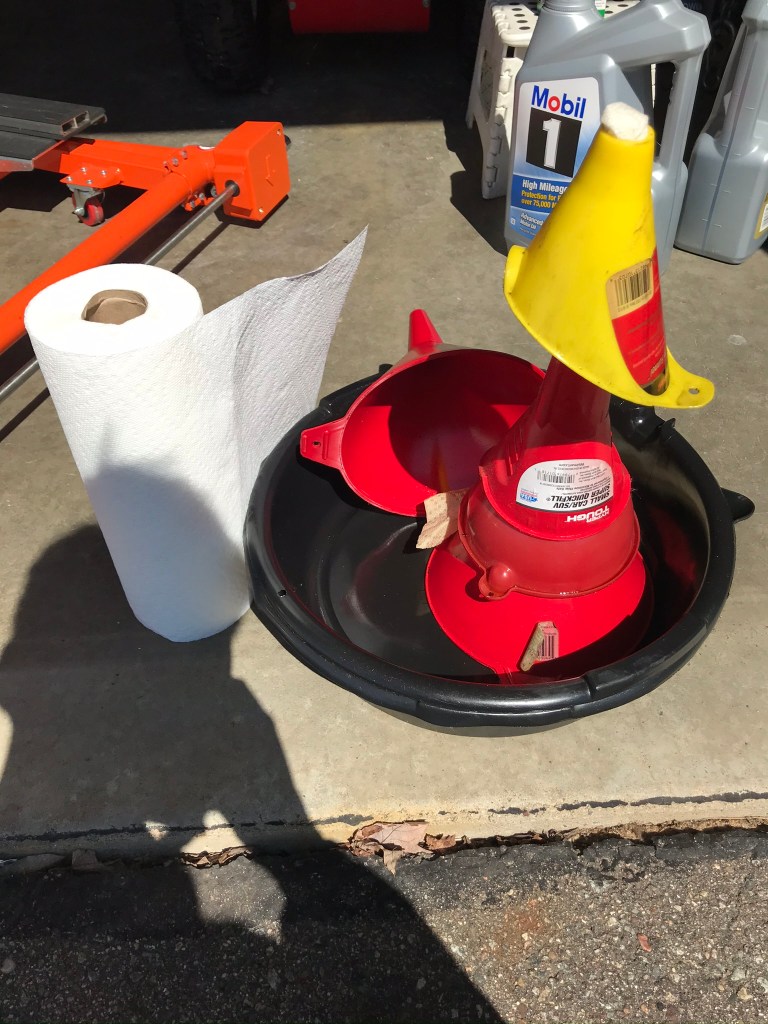
Step 2: Have the right tools and equipment you need
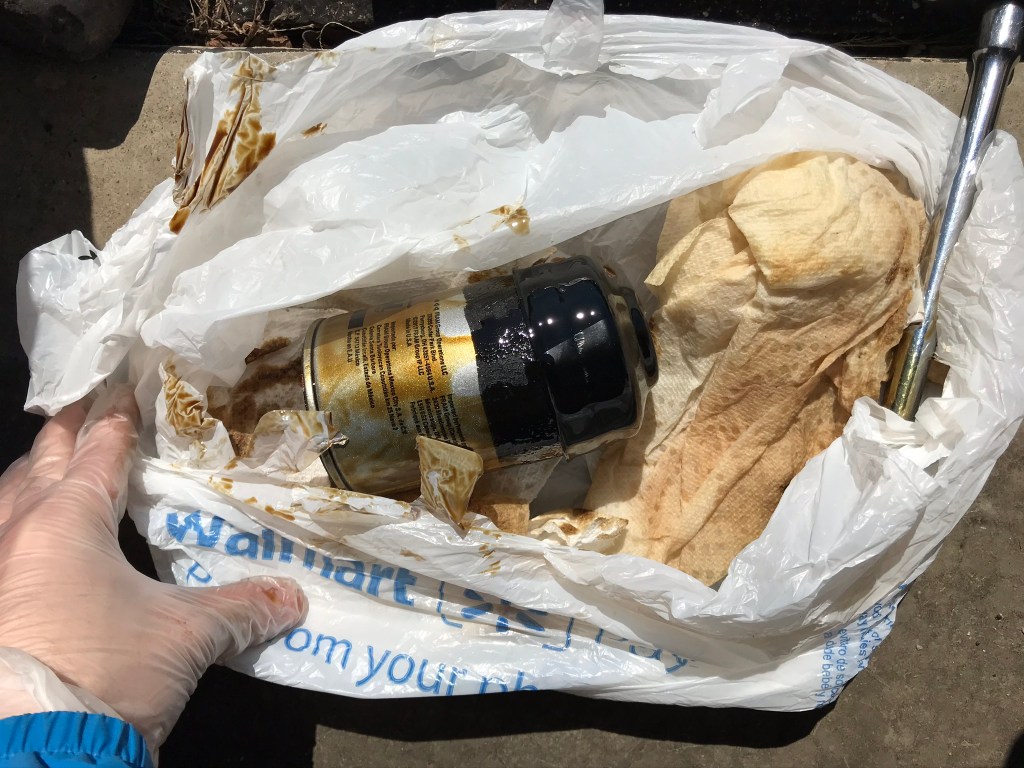
For you to be able to perform this task, having the right tools and equipment is a necessity. American cars tend to be measured in Society of Automotive Engineers (SAE) while non-American are in metric (mm). There are sets of wrenches that provides you both measurements at Walmart and auto stores. Here is a list of things you need to get started:
- Correct size wrench (SAE or mm)
- Rubber mallet
- Oil filter wrench/cap (fits oil filter size)
- Oil drain pan(s) and funnel
- Car creeper (Not necessary)
- Paper towel
- Plastic gloves
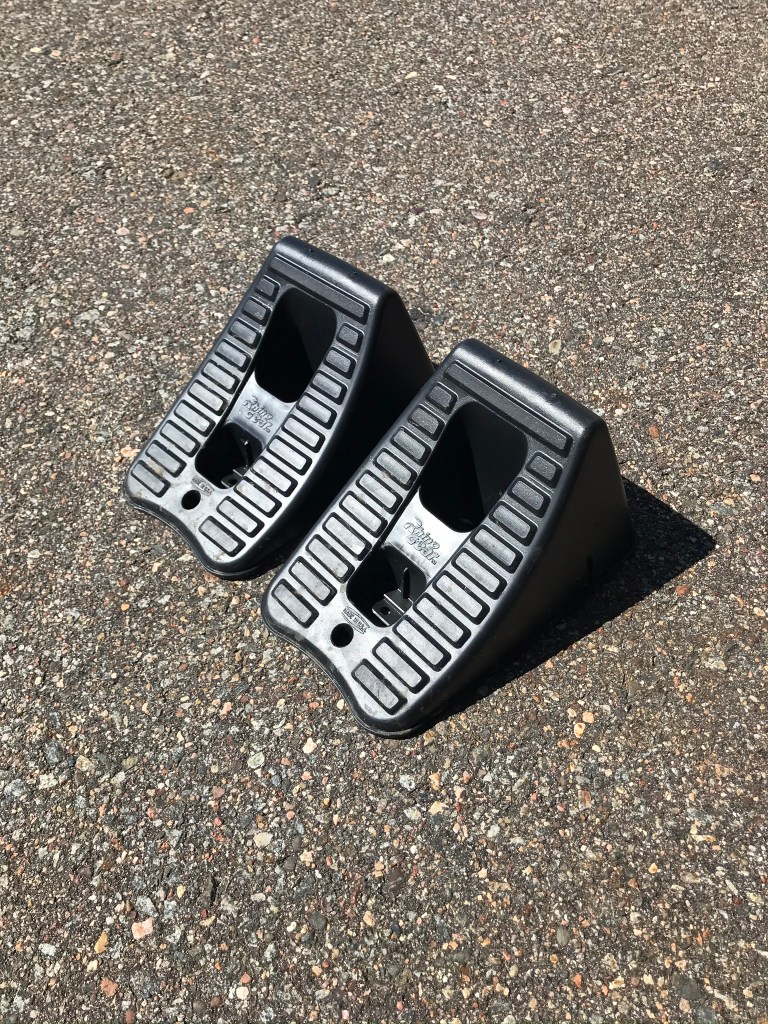
- Equipment that can lift your car up (any of these will work)
- Floor jack with two jack stands and two wheel chocks
- 2 Ramp with two wheel chocks
- Portable car lifter

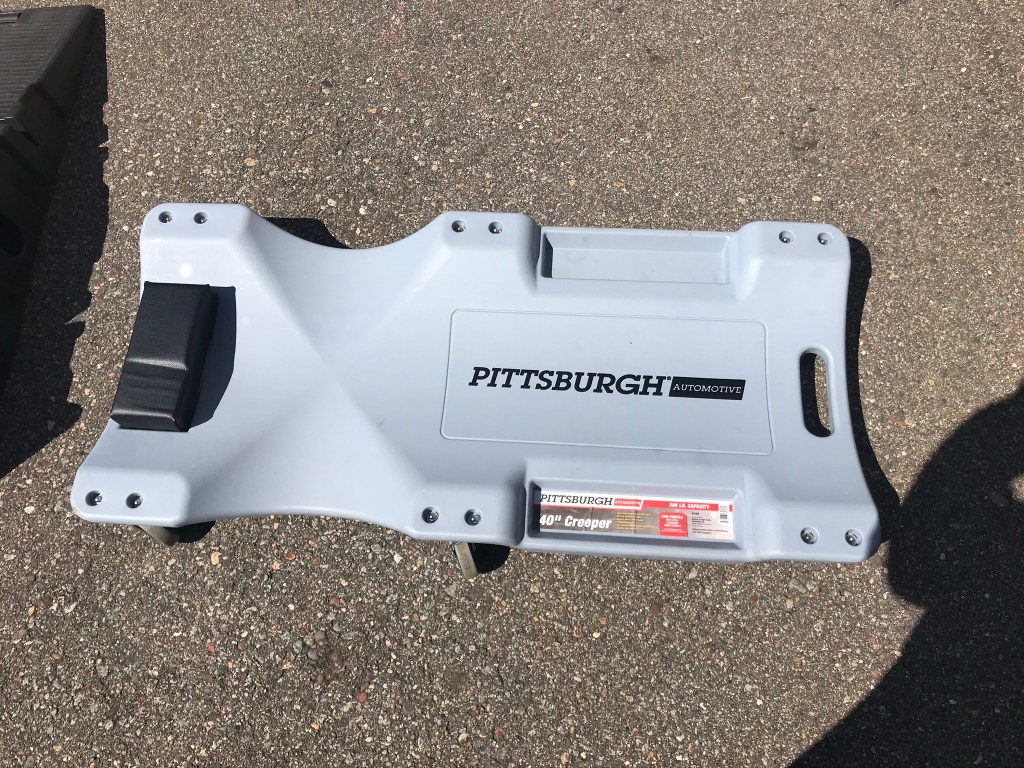
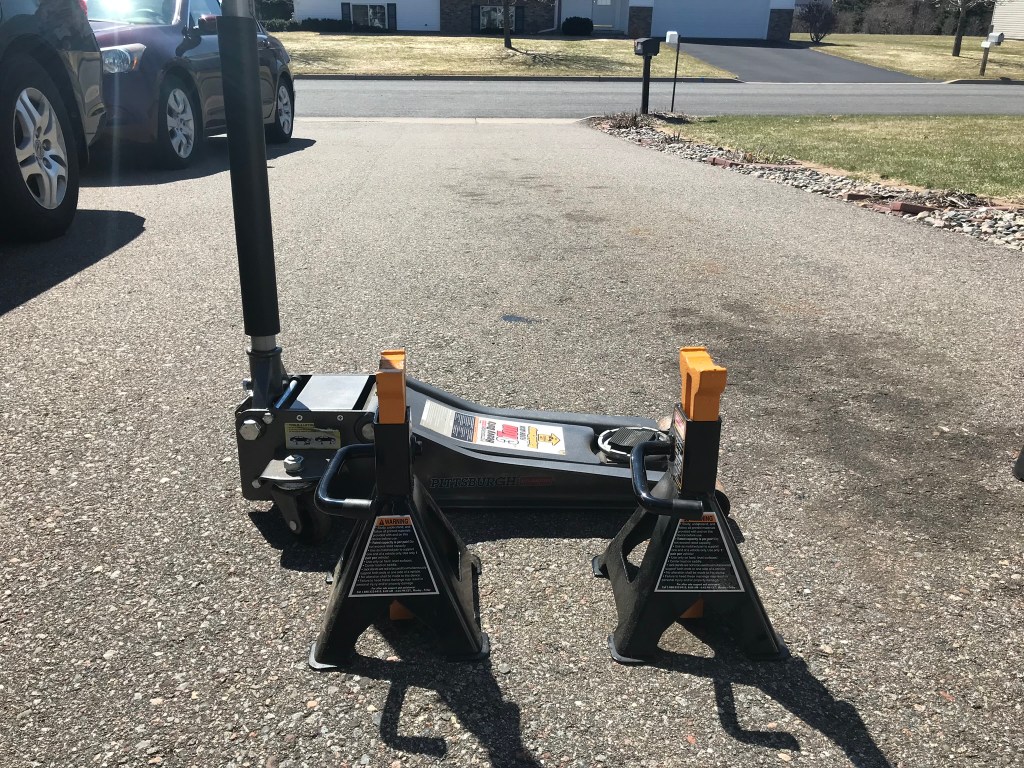
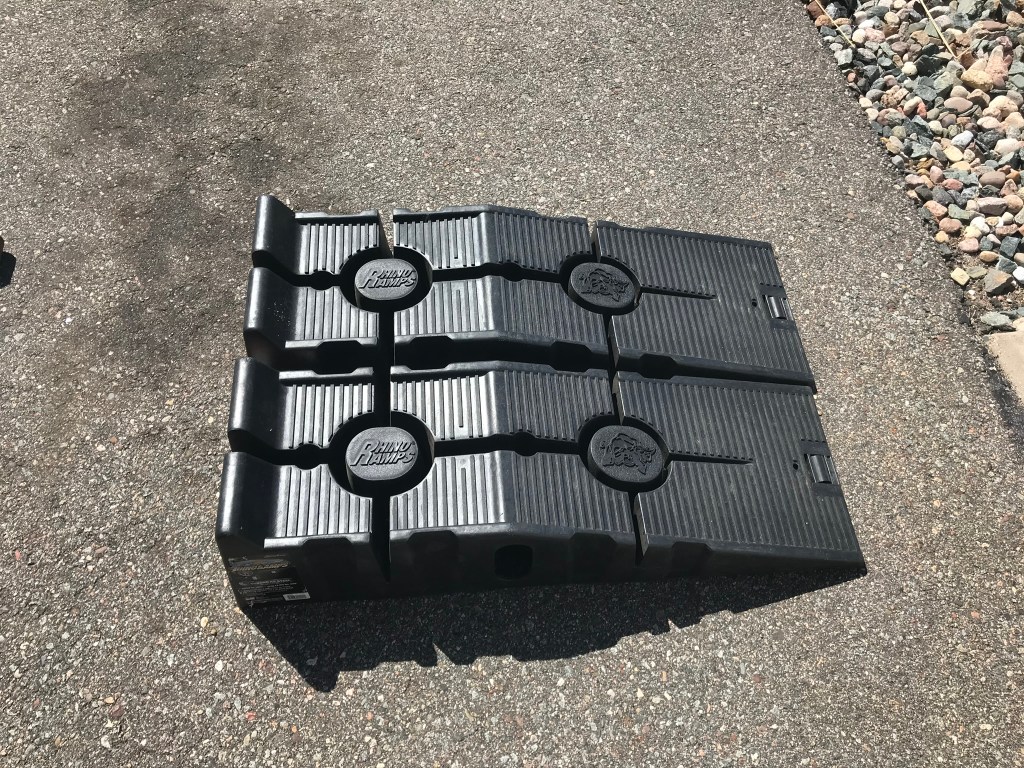
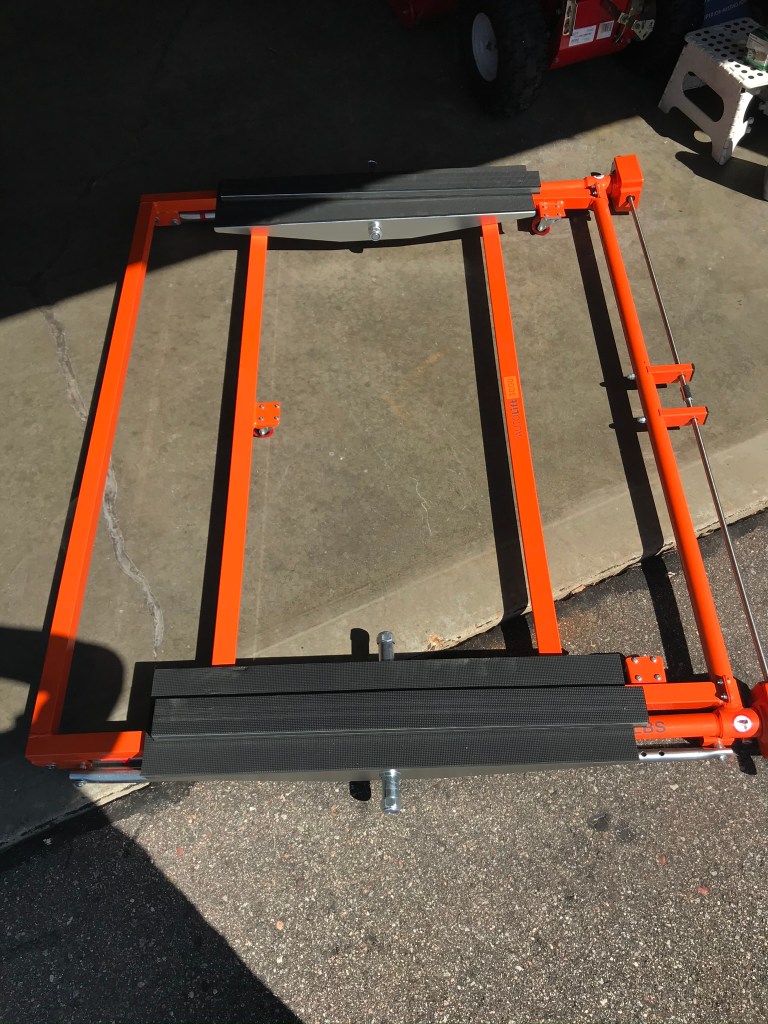
Photos taken by Chue Tou Kha
Step 3: Lifting your car
To perform an oil change on your car you must lift your car. A leveled surface is recommended for a more accurate and easy experience. Otherwise, a sloped surface requires estimating the oil level on the dipstick and oil drain placement for the draining of the oil
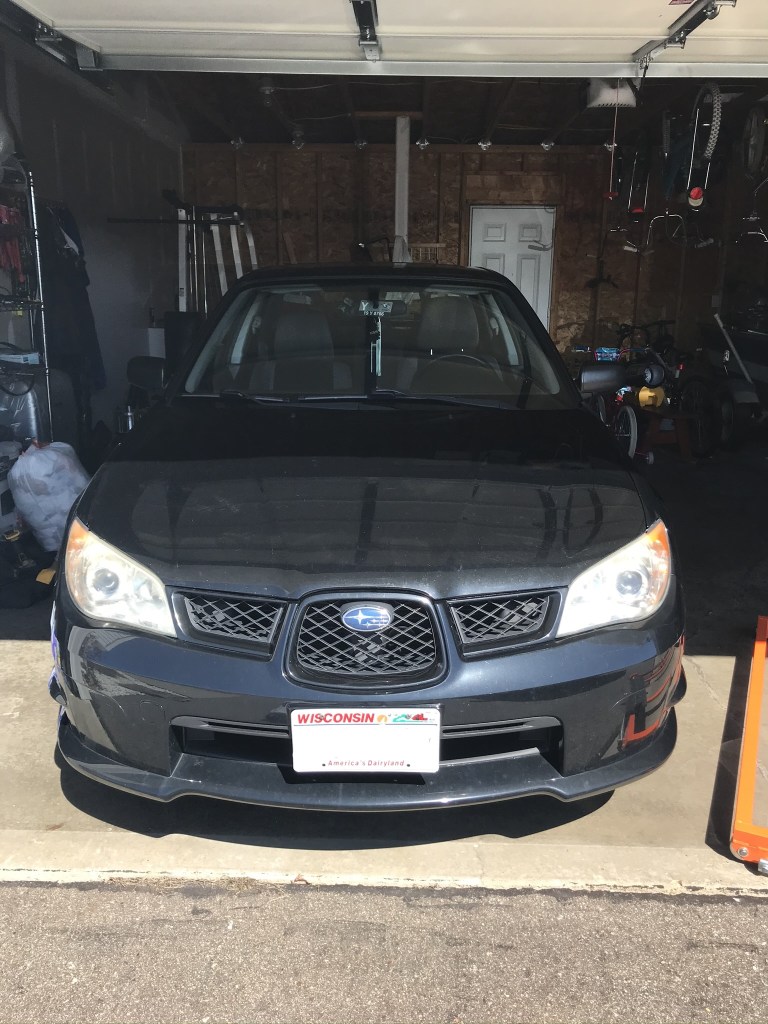
Photo taken by Chue Tou Kha
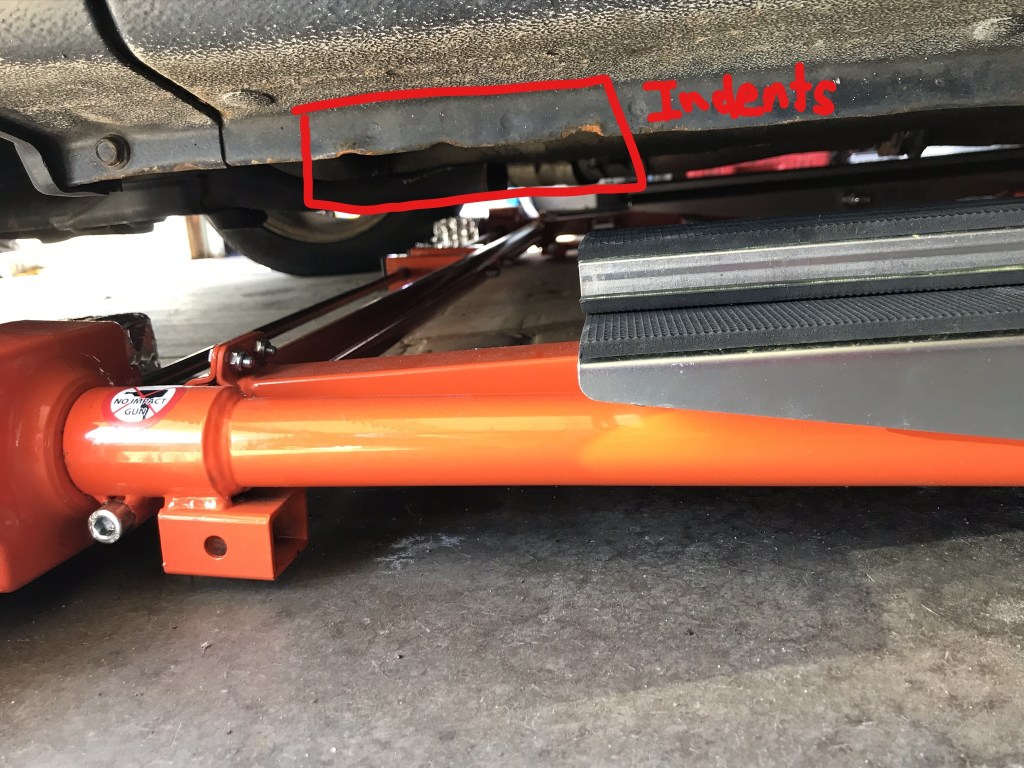
- Floor jack method: First place the wheel chocks on the two rear wheels. Then before starting to jack the car, the location of where you are jacking is important. Look for the indents underneath both sides of the car. Place the jack underneath it and jack it to a height where you can place your jack stand underneath the frame but also, be able to work underneath the car. Do the same to the other side of the car. Jack stands should be placed under the metal frame for it is strong enough to support holding your car up. A safety precaution is to leave the floor jack, jacked underneath the indented bar to catch the car if it falls.
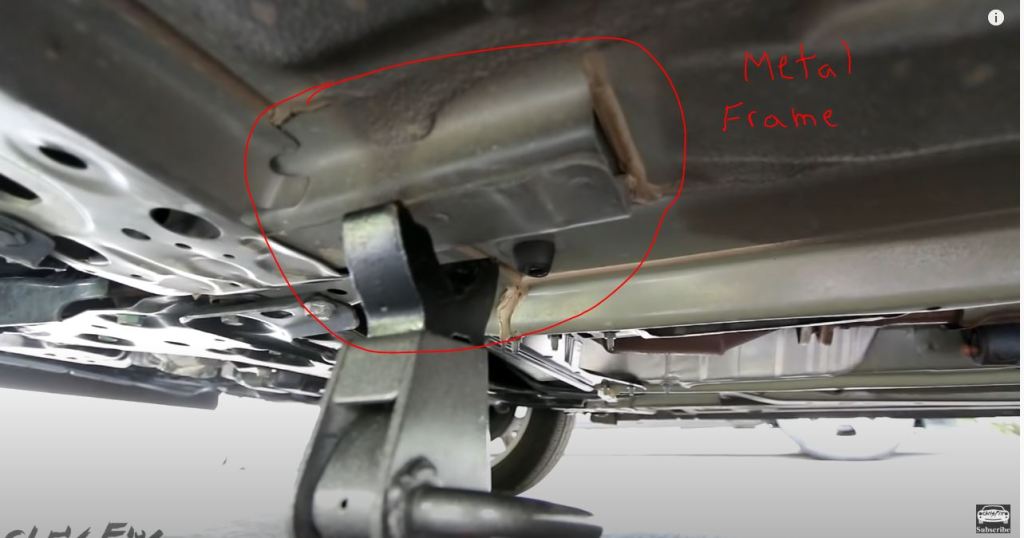
ChrisFix. 2015. [How to change your oil]. Retrieved from https://www.youtube.com/watch?v=O1hF25Cowv8
Photos 1 and 2 taken by Chue Tou Kha
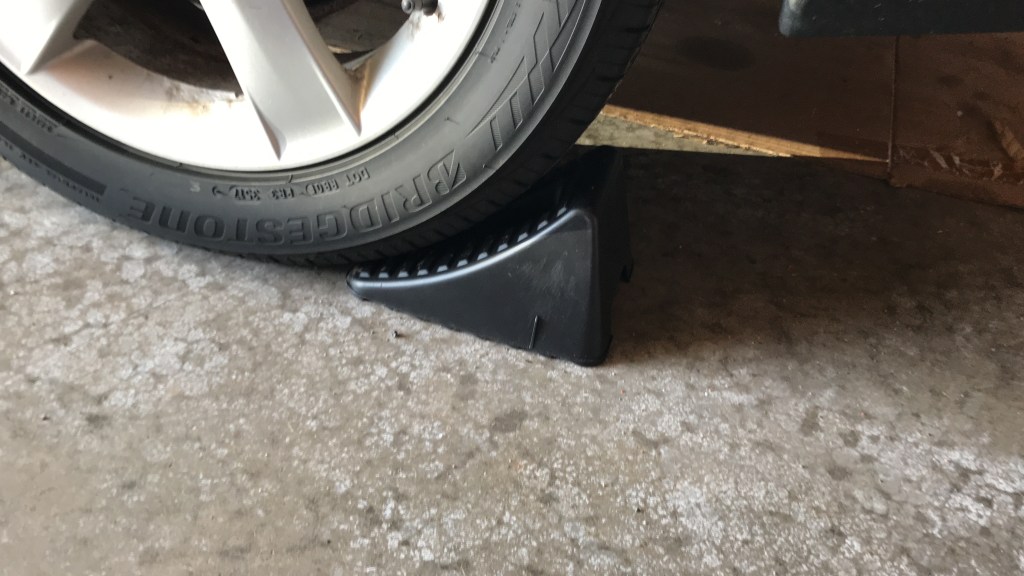
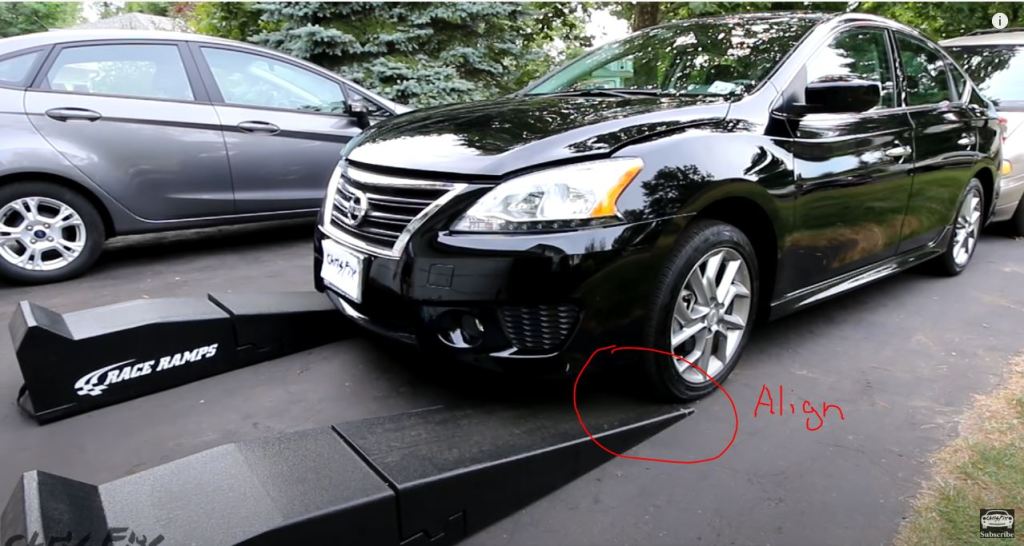
- Ramp method: Push the ramps into the front of your wheels of the car and make sure it is aligned with your wheels. If it is not aligned, you could drive off the ramp when driving onto them. After making sure you align them, drive up the ramp slowly and stop when you hit the guard of the ramps. Put your e-brake on and then wheel chocks behind your rear wheels.
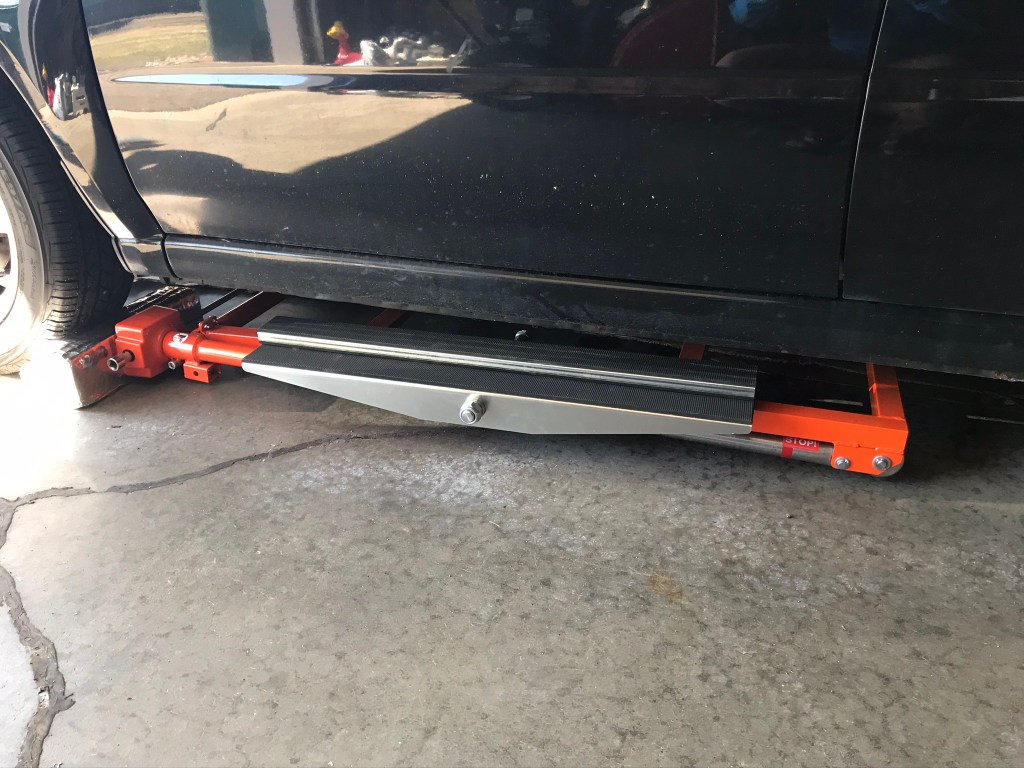
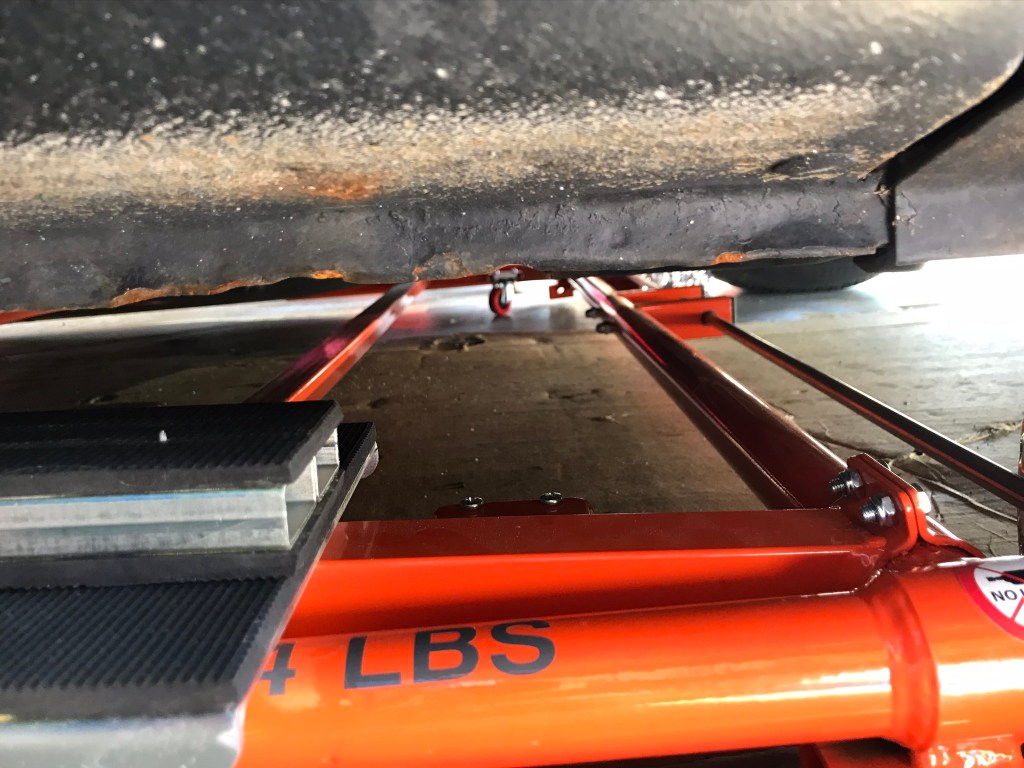
- Car lifter method: Similar to jacking your car up, place the lifts underneath the bar that has the indents. Making sure it is even on both sides, proceed to lift the car up to the desired and workable height.
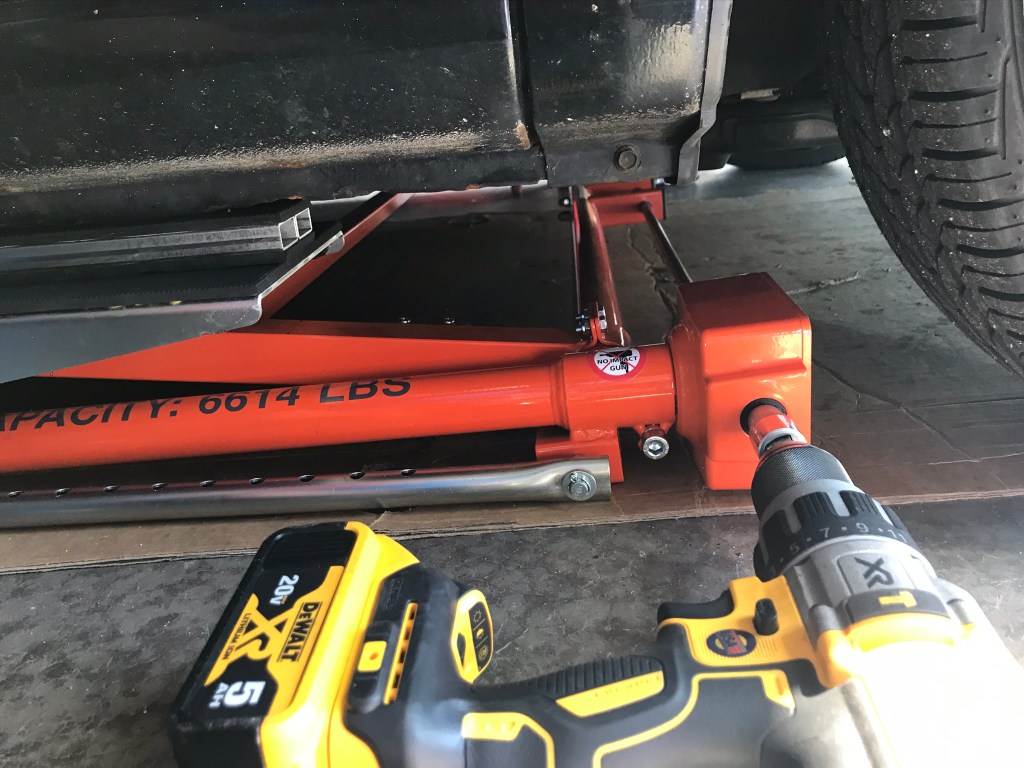
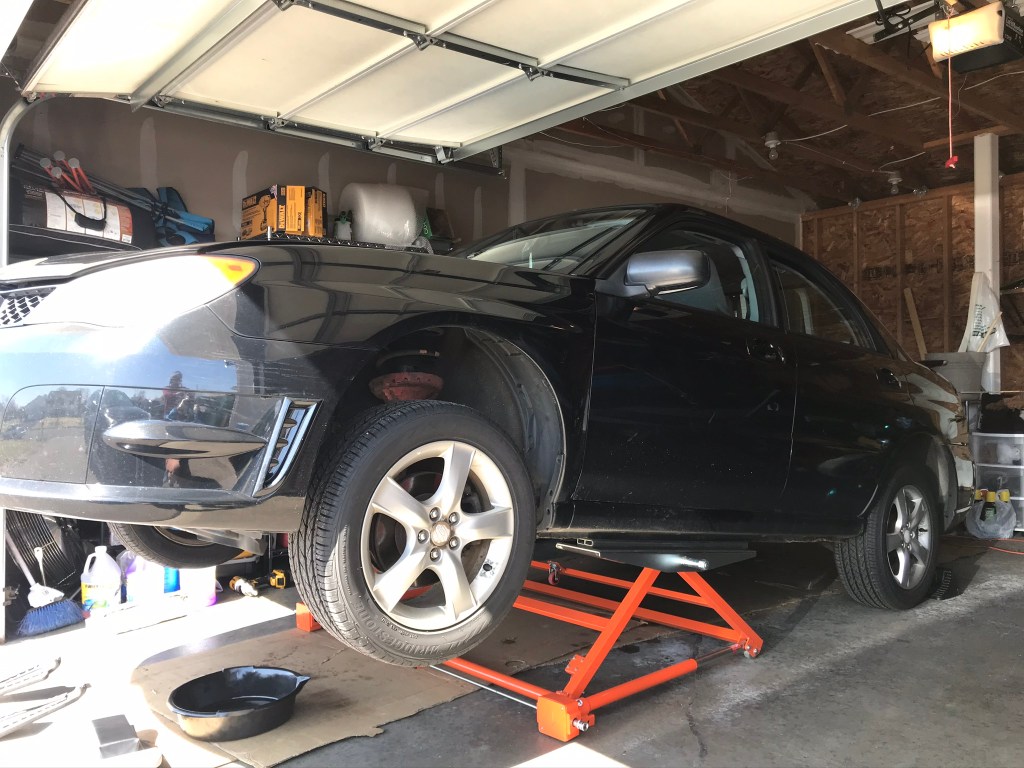
Photos taken by Chue Tou Kha
Step 4: Performing the oil change
Either using a car creeper or a cardboard box to lay on, going underneath you must locate the oil pan and the oil filter. Looking underneath with many other parts, it may be confusing on which is the oil pan. To tell which part is the oil pan, look for a bolt (oil drain plug) that sticks out. An oil filter has a cylinder shape and usually near the oil pan. Note that some oil filters are located in the engine bay and not underneath.
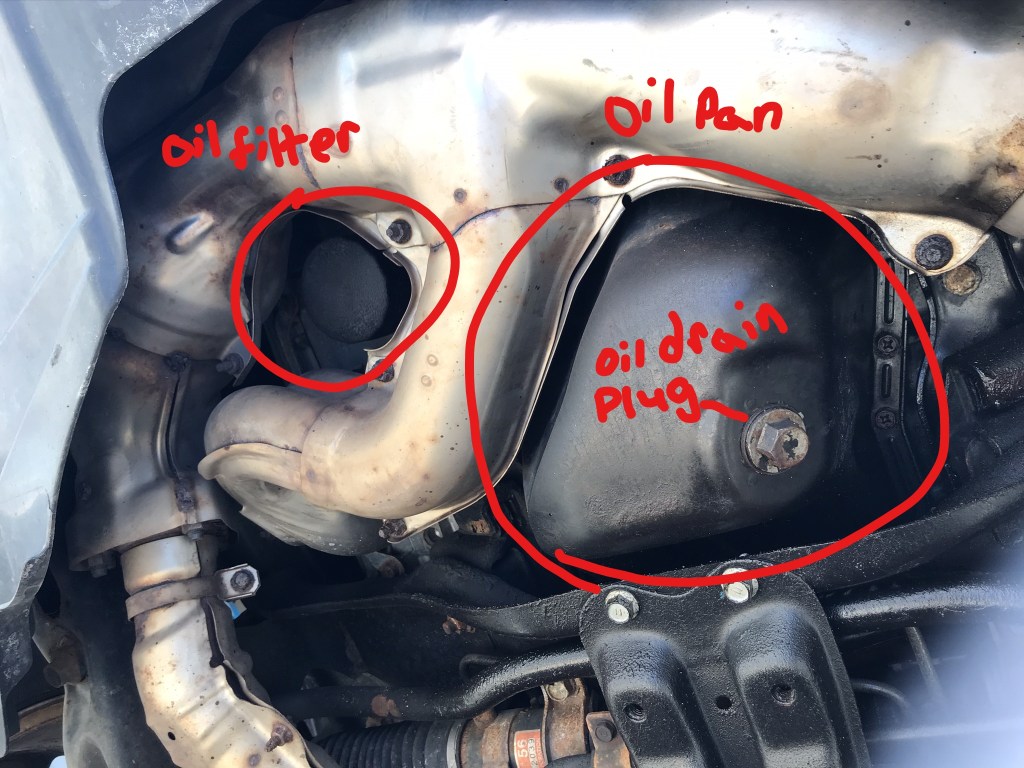
Photo taken by Chue Tou Kha
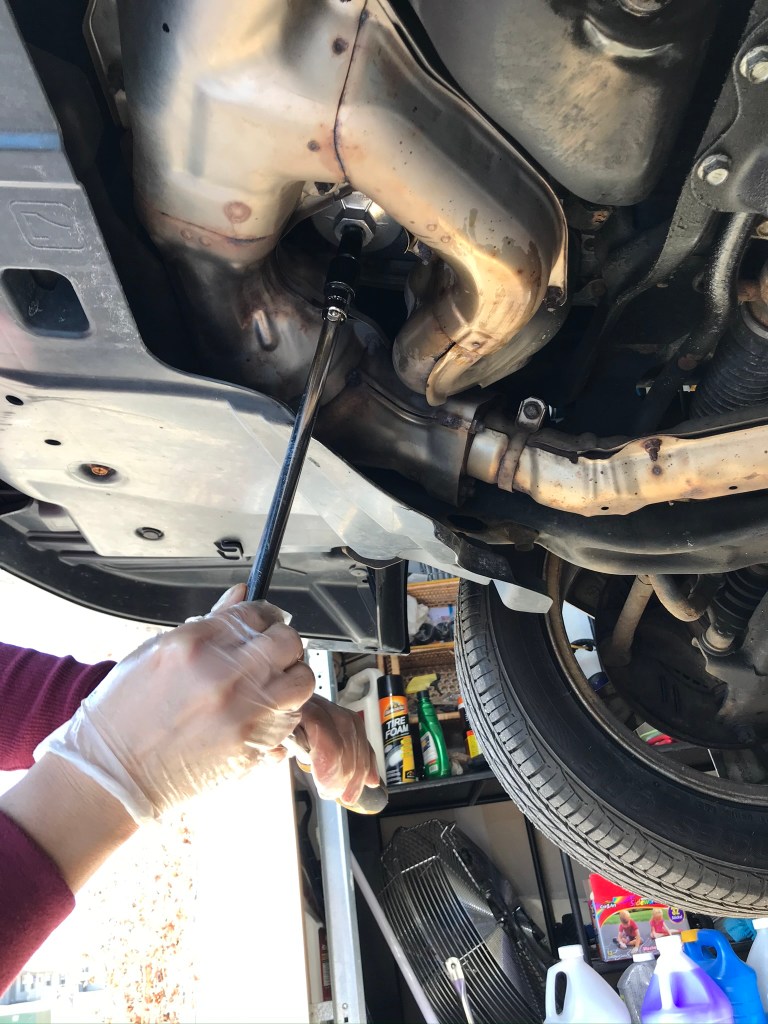
The oil pan needs to be empty first. Grab an oil drain pan and place it under it and note that oil will flow out so directly underneath it isn’t a good placement. Find the right wrench that fits perfectly, then use a mallet and use carefully pound it to loosen it. After that, use the wrench to continue to loosen the bolt. When it is completely loosened, the oil will flow out immediately so have your oil drain ready. After it completely drains, tight the bolt back in and don’t over tight it.
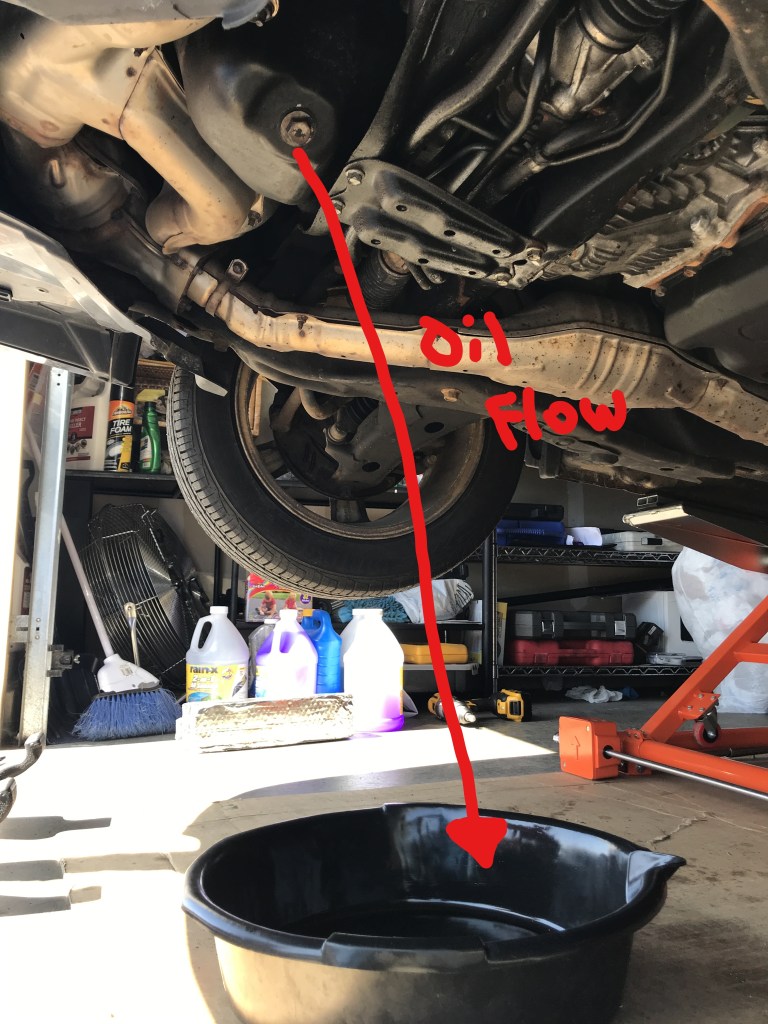
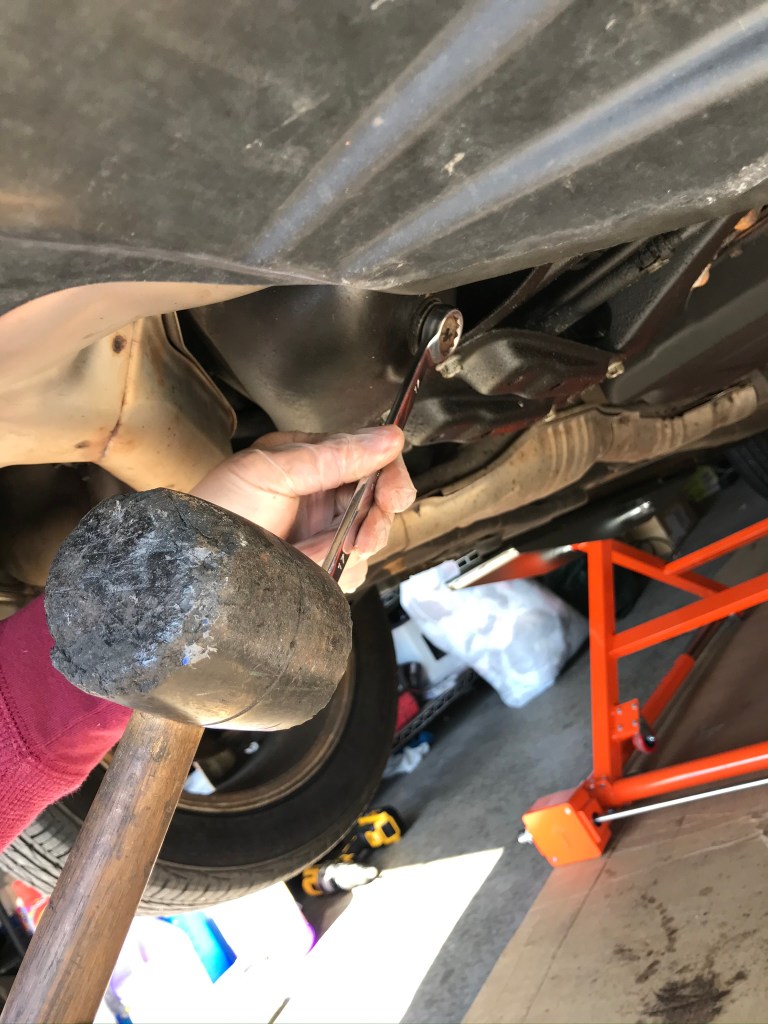
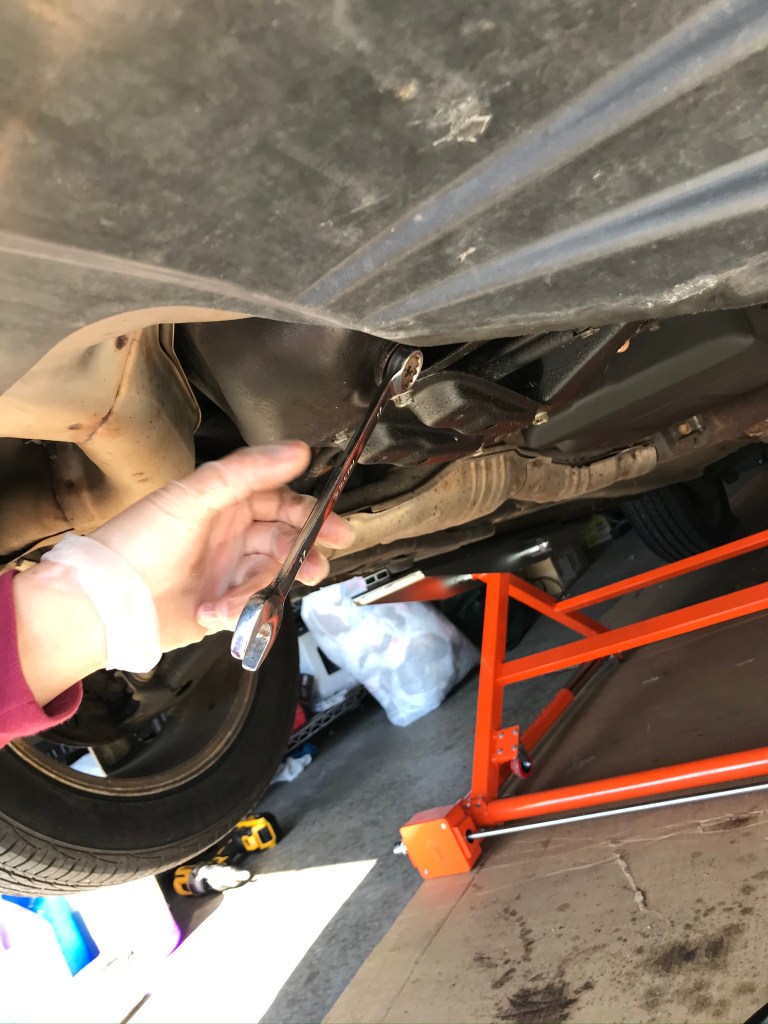
Photos taken by Chue Tou Kha
The next step is to take off the oil filter and again, place the oil drain pan underneath it. Using an oil filter wrench, place your wrench around it and twist it to the direction that loosens it. If using a cap, make sure it fits and use a ratchet with an extension to reach the filter and loosen it. Again oil will immediately drain so it is important to have your drain pan ready.
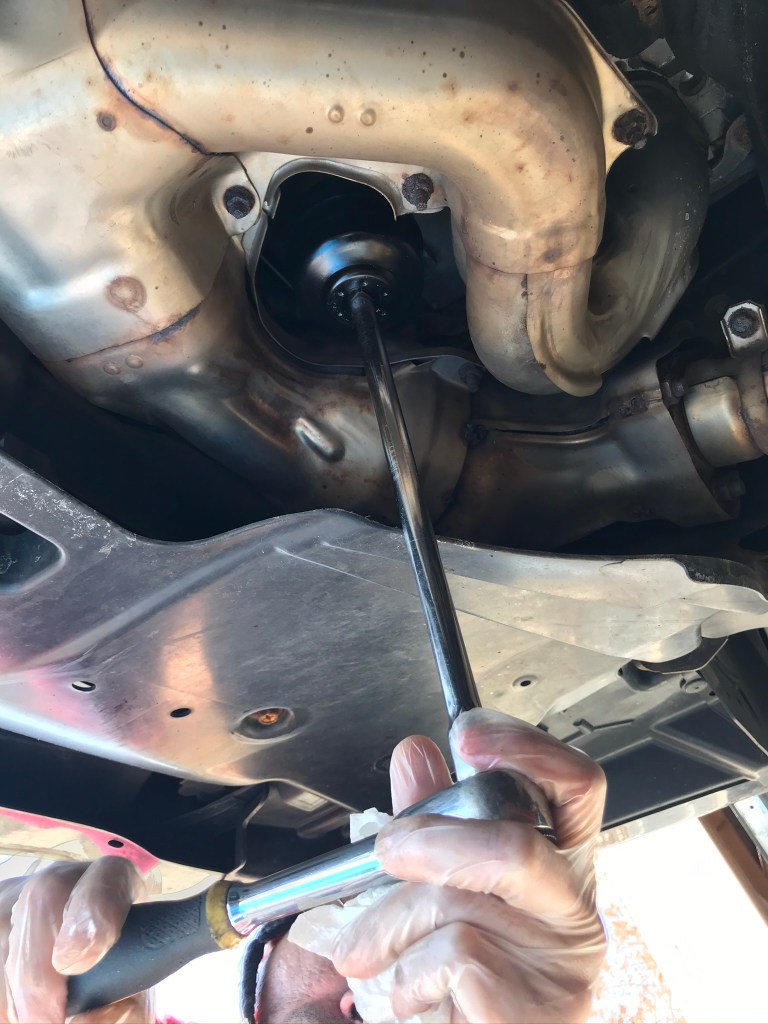

Photos taken by Chue Tou Kha
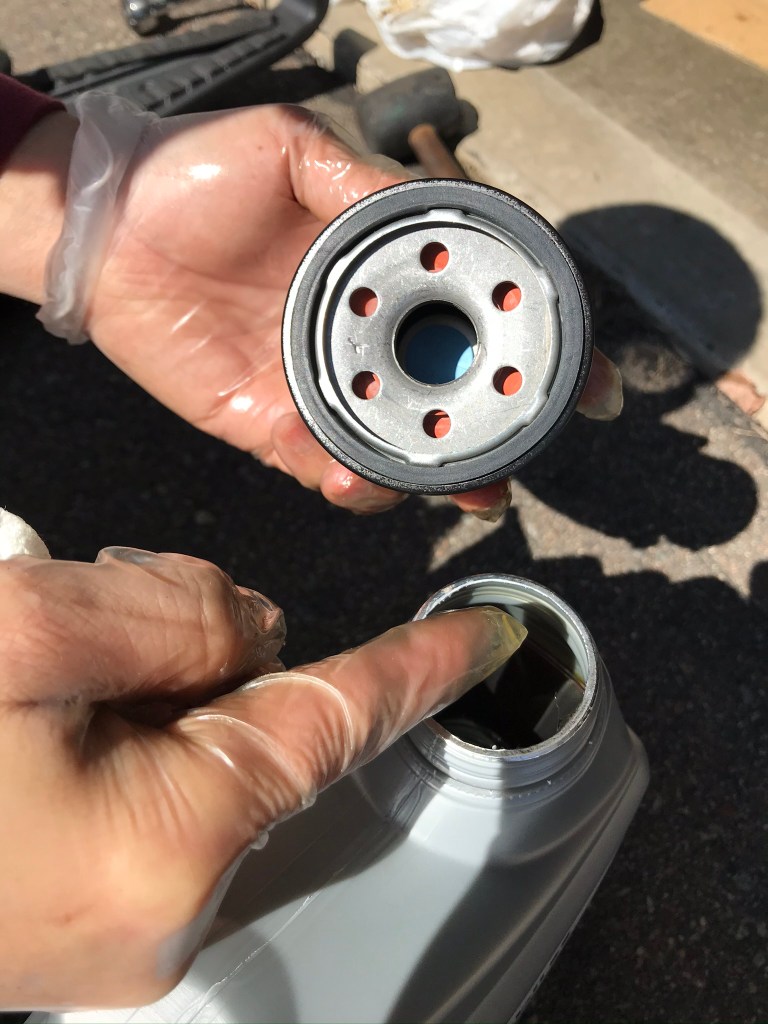
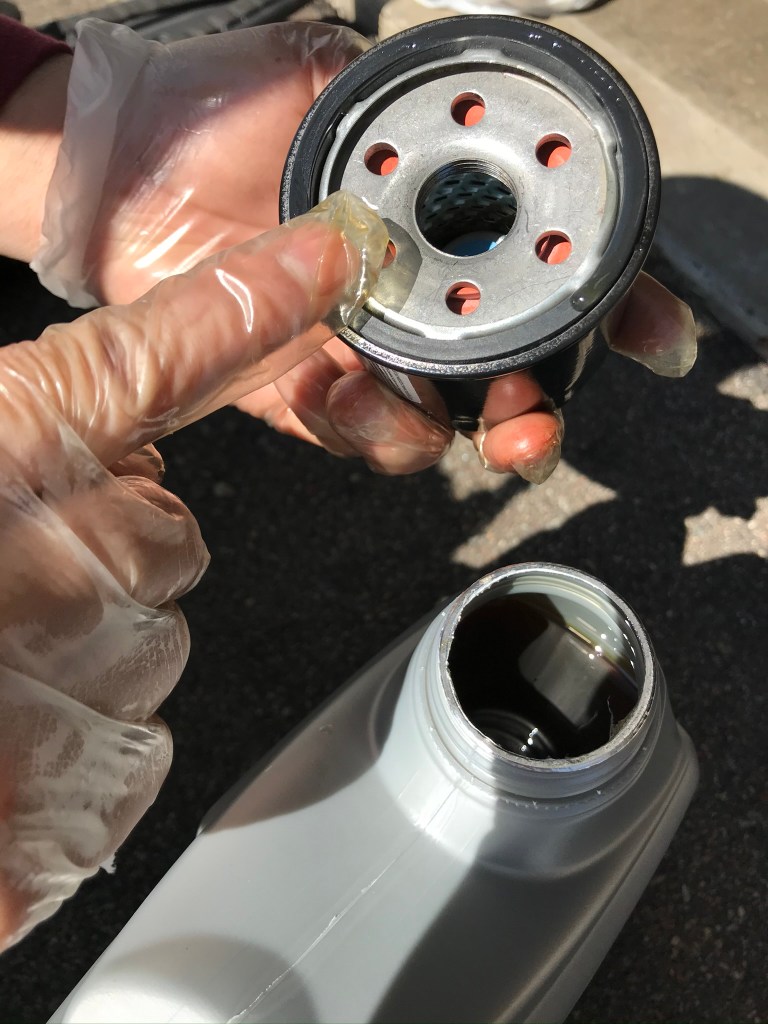
After removing the old oil filter, have your new one ready. However, before screwing it onto the car, lubricate the threads and the rubber on the filter with your new engine oil. After doing so, screw the new filter onto the car with an oil filter wrench or cap.
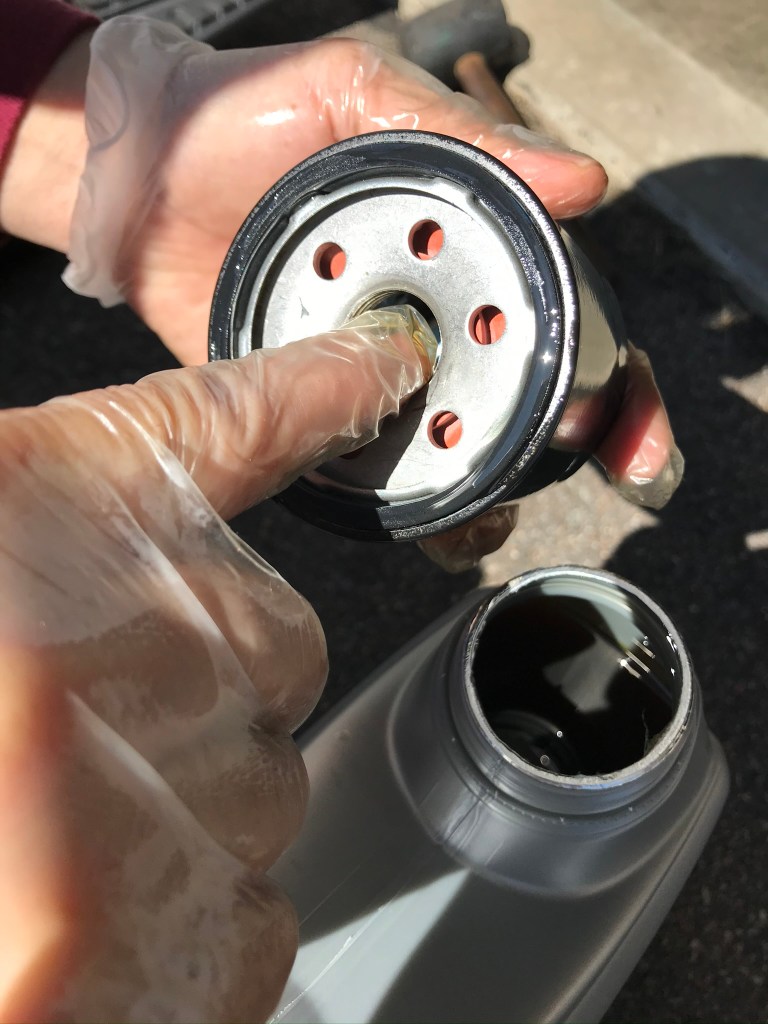
Photos taken by Chue Tou Kha
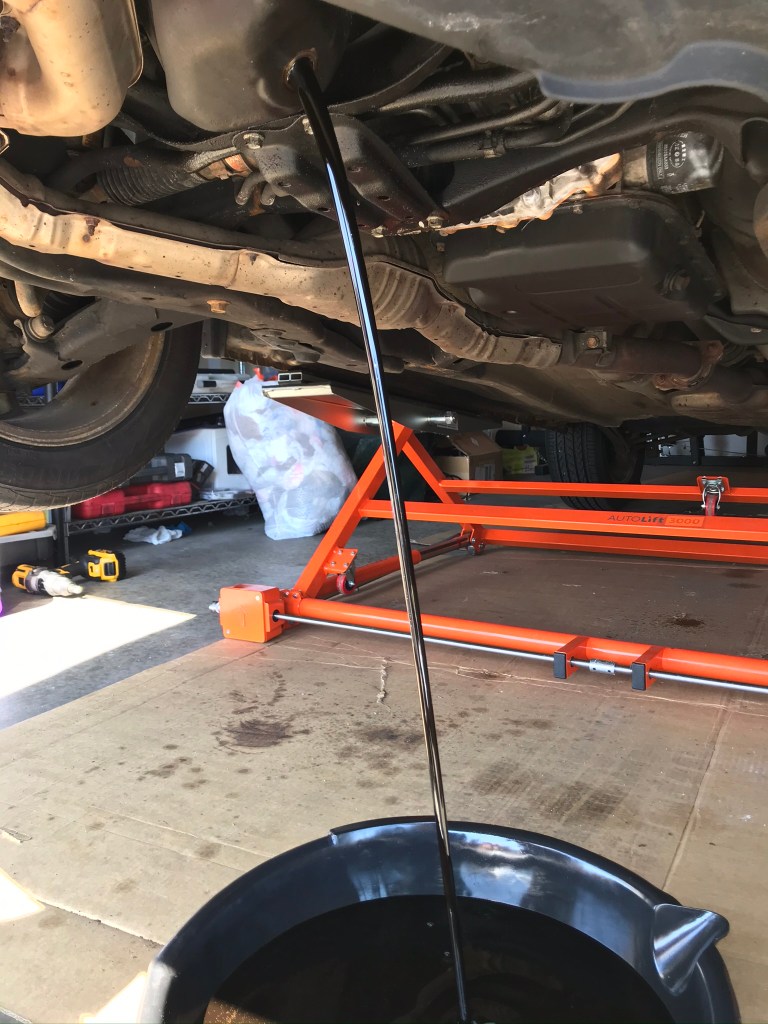
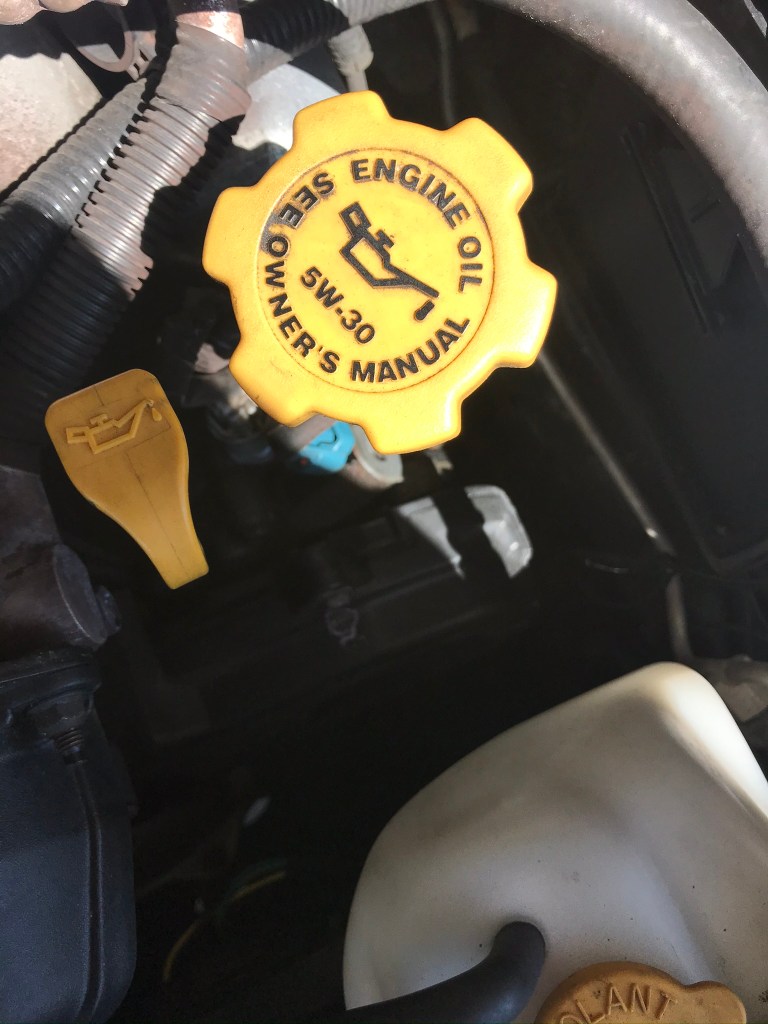
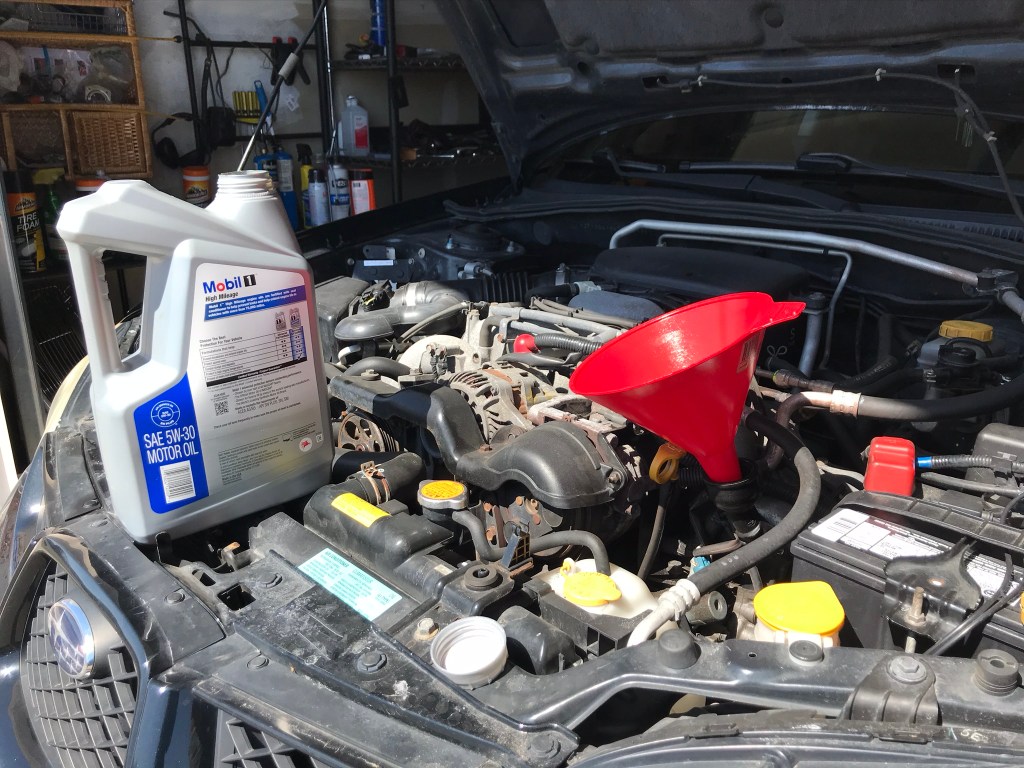
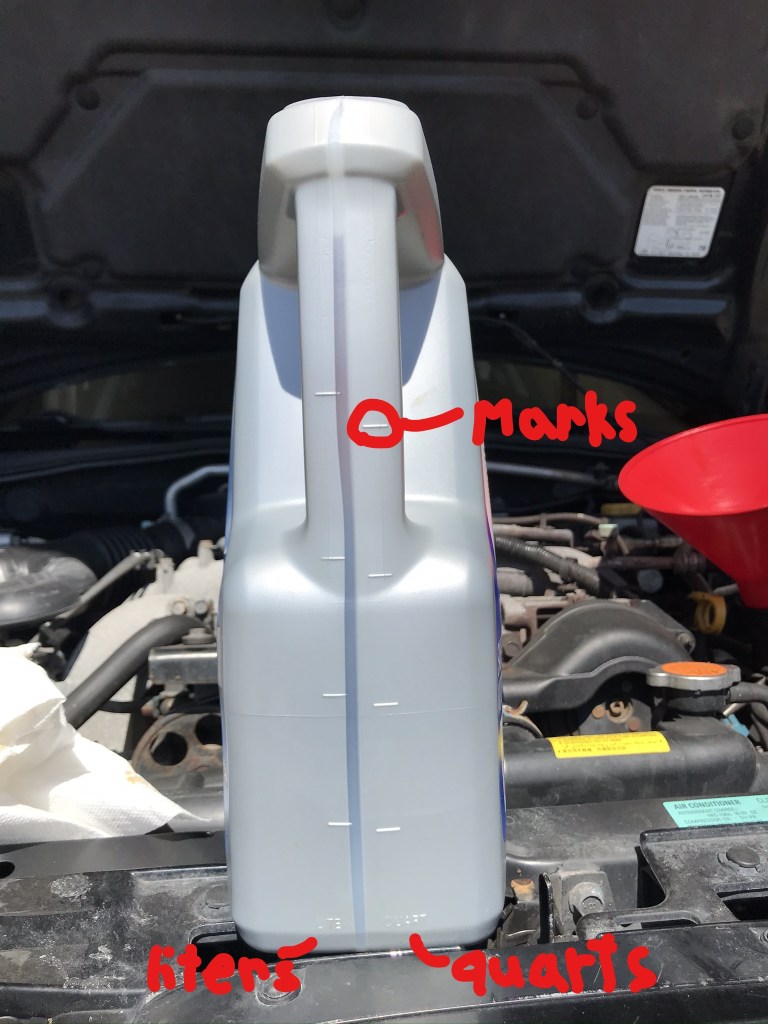
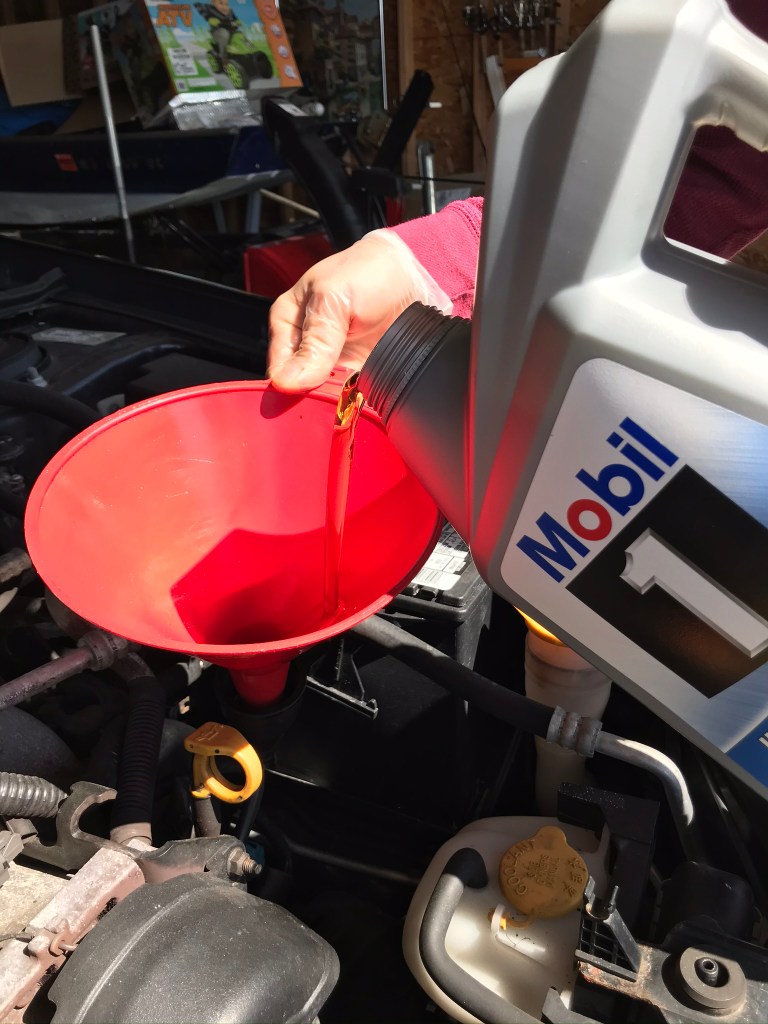
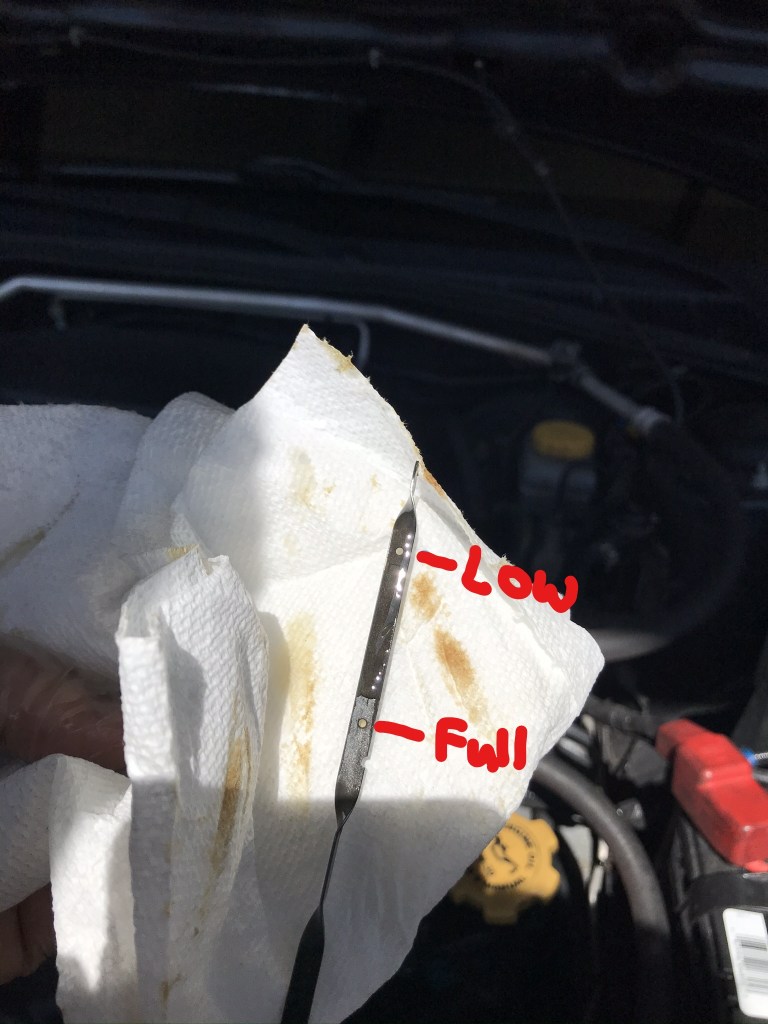
After replacing the oil filter, you are finished with working under the car. You can now lower the car all the way down. The next step is to put your new engine oil into the engine. Open the hood and prop it with the hood rod. Then open the engine oil cap and place the funnel into it. Pour according to how much your car can hold and always look at the marks on the side of the oil container. The marks represent the number of quarts in the container. Be careful to not overfill your because it can flood the engine, thus breaking it. You can check it with the oil dipstick, where “L” is low and “F” is full. If you overfill a little, you should be fine. However, if it is a lot, you must drain it and repour the right amount. When screwing the cap back on, don’t over tight it.
Photos taken by Chue Tou Kha
Step 5: Cleaning up and recycle old engine oil
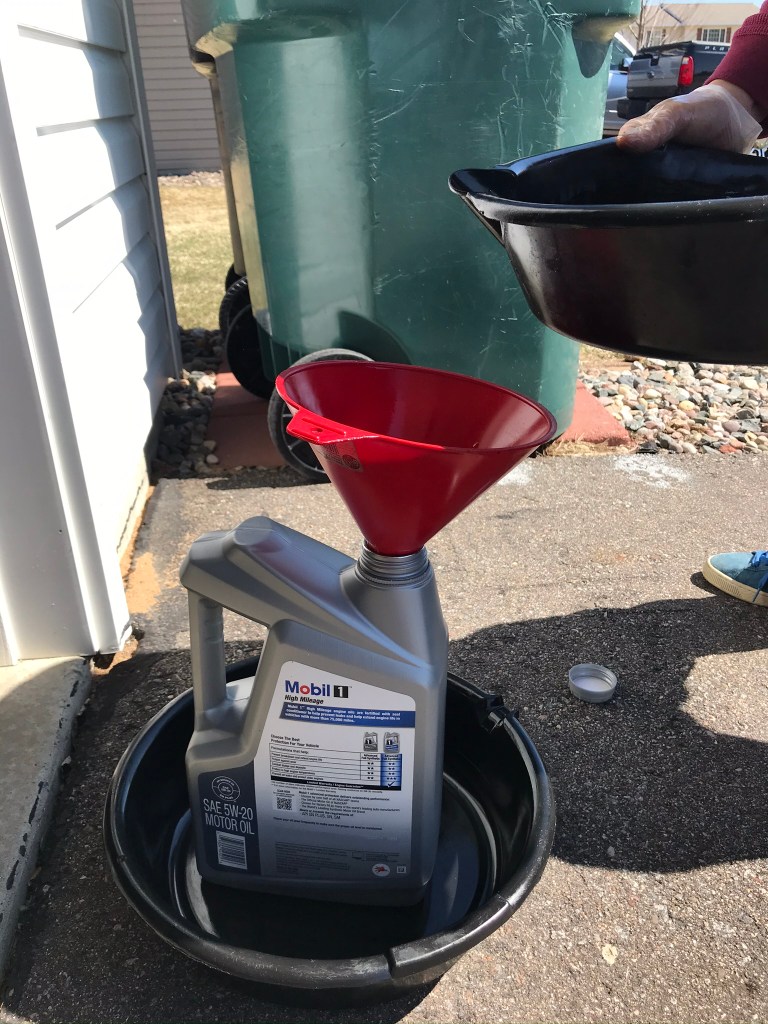
After putting in the right amount of oil into your car, you just finished changing your own oil. Now you must get rid of your old engine oil and to do so, pour the old oil into an empty container. After pouring the old oil into an empty container, you must not throw it away in your garbage can. Instead, take it to a local auto store that offers the service of recycling it for free.
Photos taken by Chue Tou Kha
Concluding
Now with these simple steps, instead of taking your car to a shop. You can save a lot of money by learning how to change your own oil. Not only are you just saving money and providing regular maintenance on your car. You are also giving the best to your car, unlike a shop and also developing a useful skill.
Reference
How to Change Your Oil. (2015). Retrieved from https://www.youtube.com/watch?v=O1hF25Cowv8
